
Servant of the Lake Full Video Walkthrough
Read the three-day story route beside the full playthrough, from estate arrival through the final carriage departure.
Walkthrough: The Main Story by Day
Follow the Notebook task names in order. Each day ends only after its final conversation or room transition; reaching a room or collecting its main item does not always finish the task. The day sections below also distinguish the cellar passages from the later bottle shelves.
The independent full-game footage follows the same arrival-to-household progression; when a puzzle screen does not match, confirm the current task name and scene before using a remembered answer.
Loading the video connects to YouTube. Reading the guide does not require playback.
Day 1
The Arrival
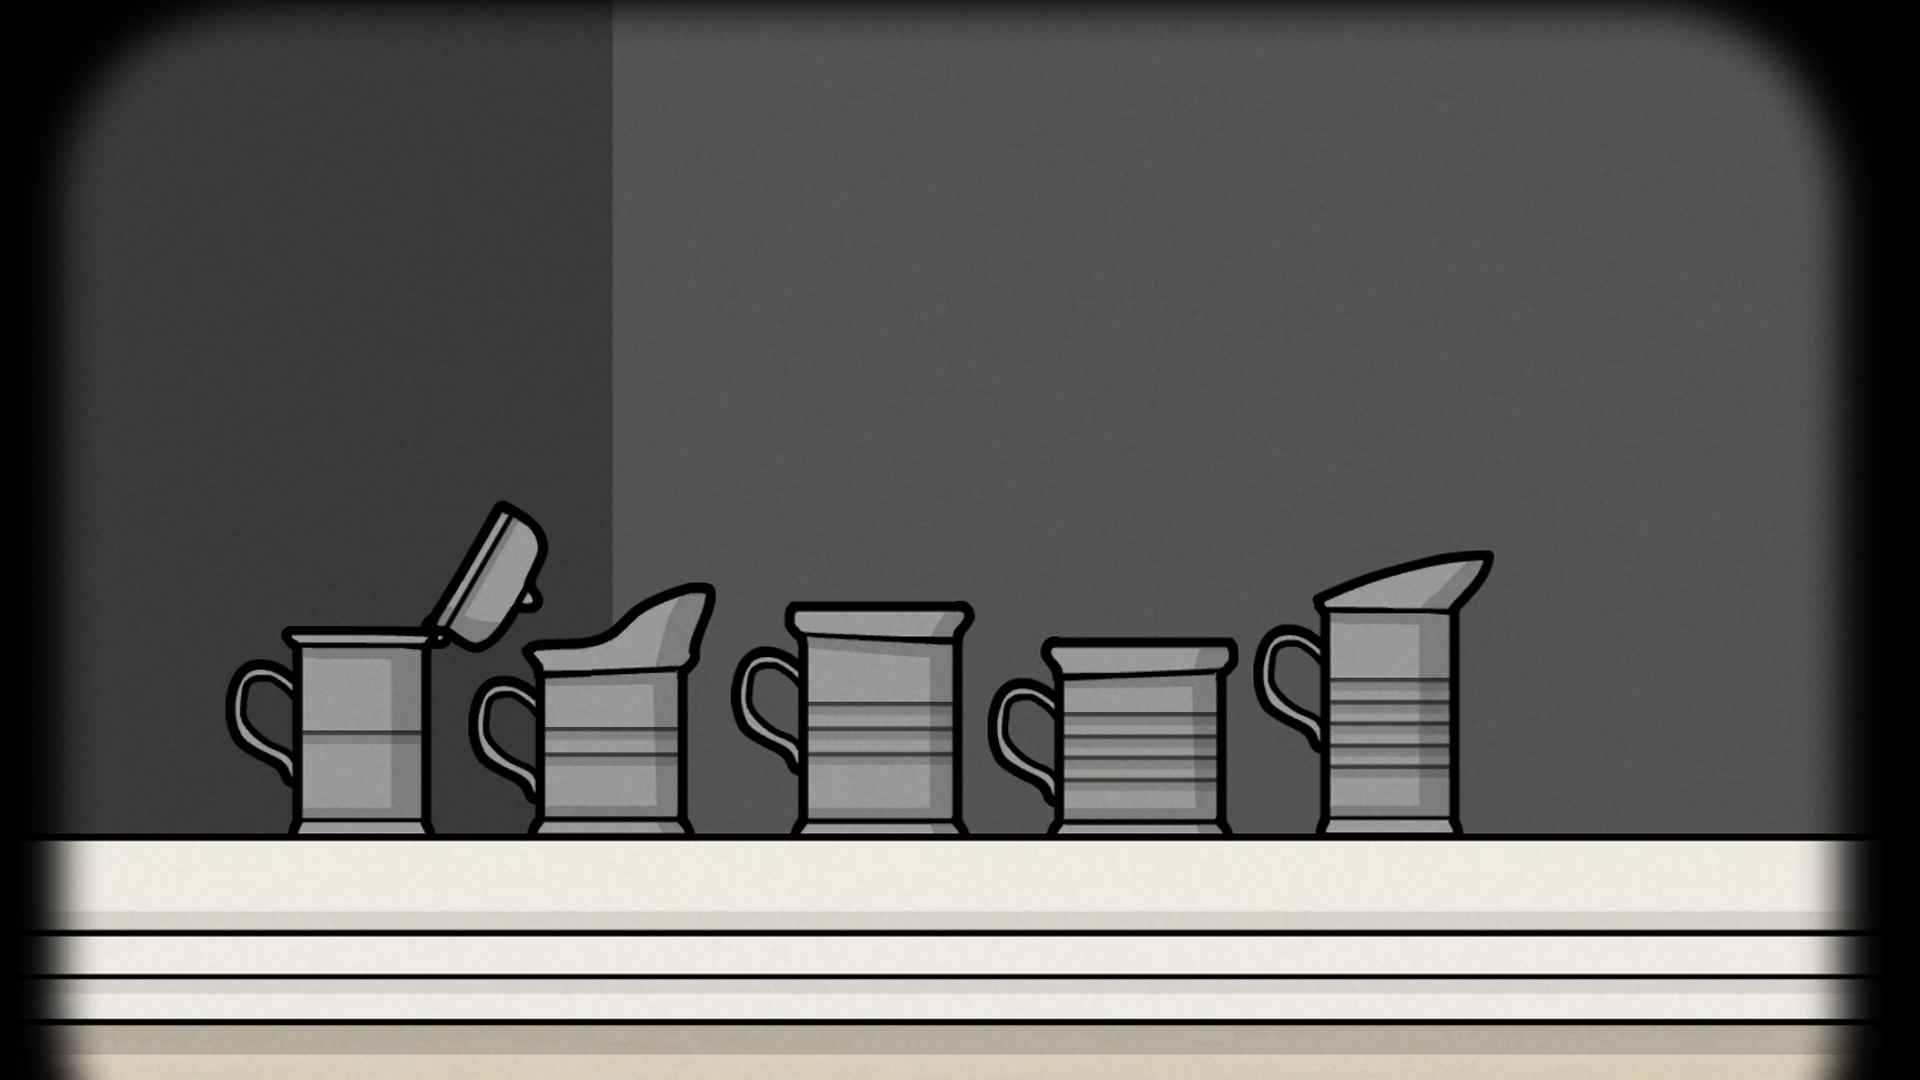
At the estate, open the left window for a cup and take the second cup from the carriage. Put all five cups in stripe-count order to expose the coin. Feed the horse and pay the coachman; use the fallen iron bar on the loose board for the key. Enter, take the feather from the maid, sign the contract, and speak to her again.
 🔍 Enlarge Clue
Preparing Breakfast
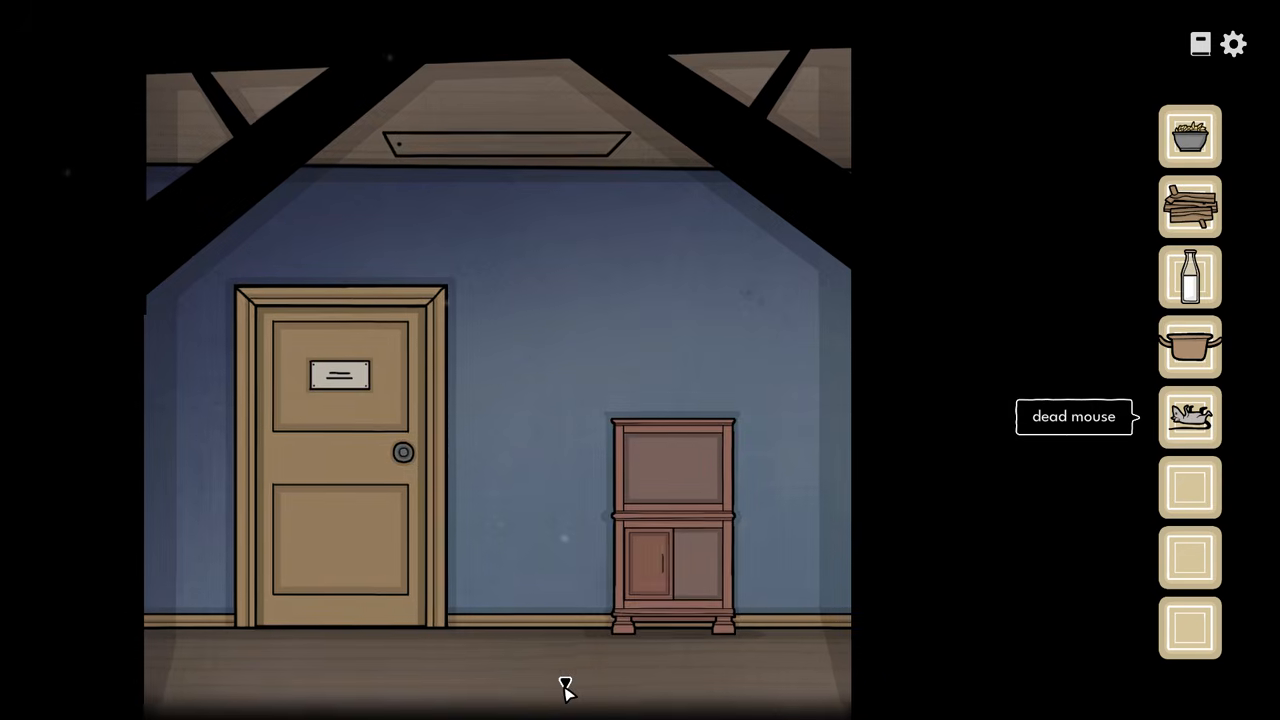
Collect wood and oats in the Servant’s Room, then milk, pan, and mouse from the nearby storage spots. Give Rustie the mouse to get matches. Light the stove, heat the milk and oats in the pan, take the cooked porridge, and enter Aldous’s bedroom.
 🔍 Enlarge Clue
Waking Up Aldous
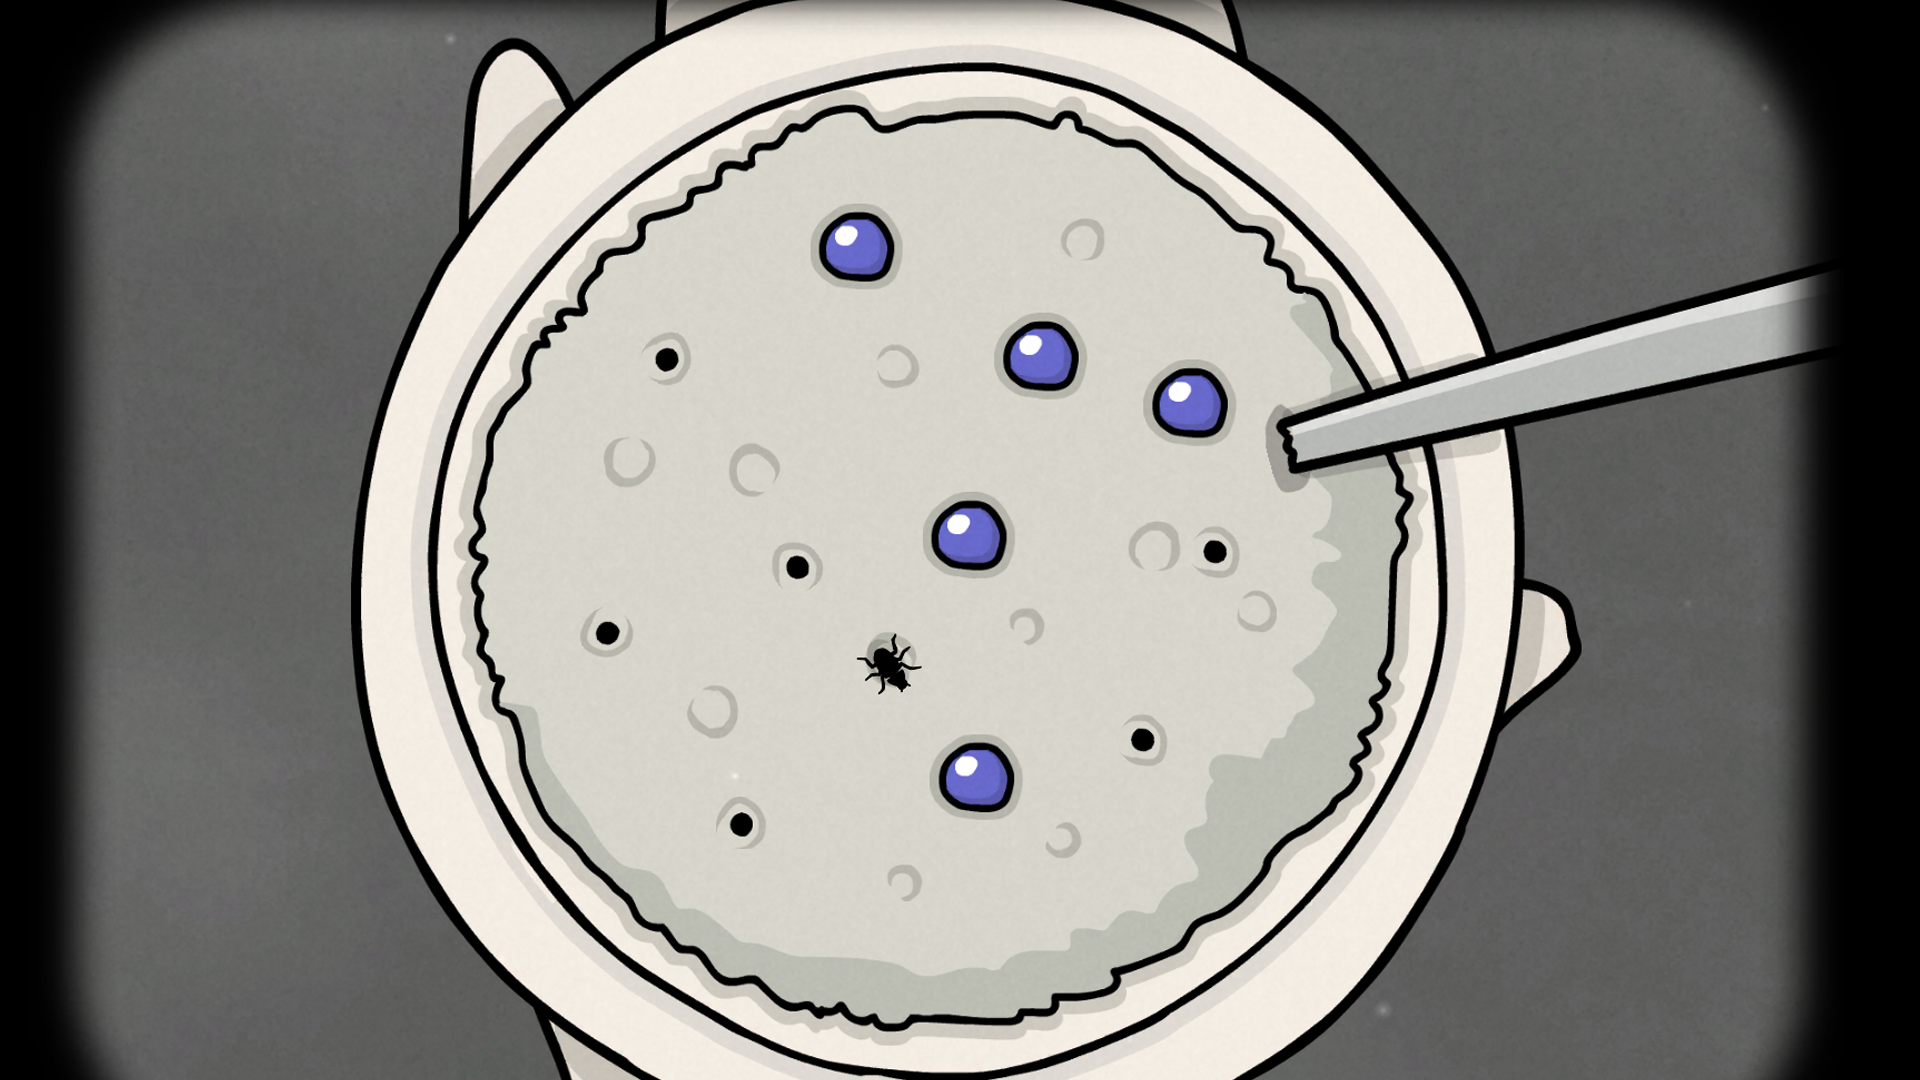
Set the alarm to 7:00. Open the floor box by aligning the moving blocks with its edge marks, then shave Aldous. Clean the ear with the hidden cloth and pass the earlobe to the crow for the drawer key. Feed the bowl with porridge and berries, block each hole as the insect moves, then squash it when trapped. Copy the soldier’s sequence—left, right, down, right, right, down—dress Aldous with both slippers, and look outside to finish.
 🔍 Enlarge Clue
Preparing the Reception
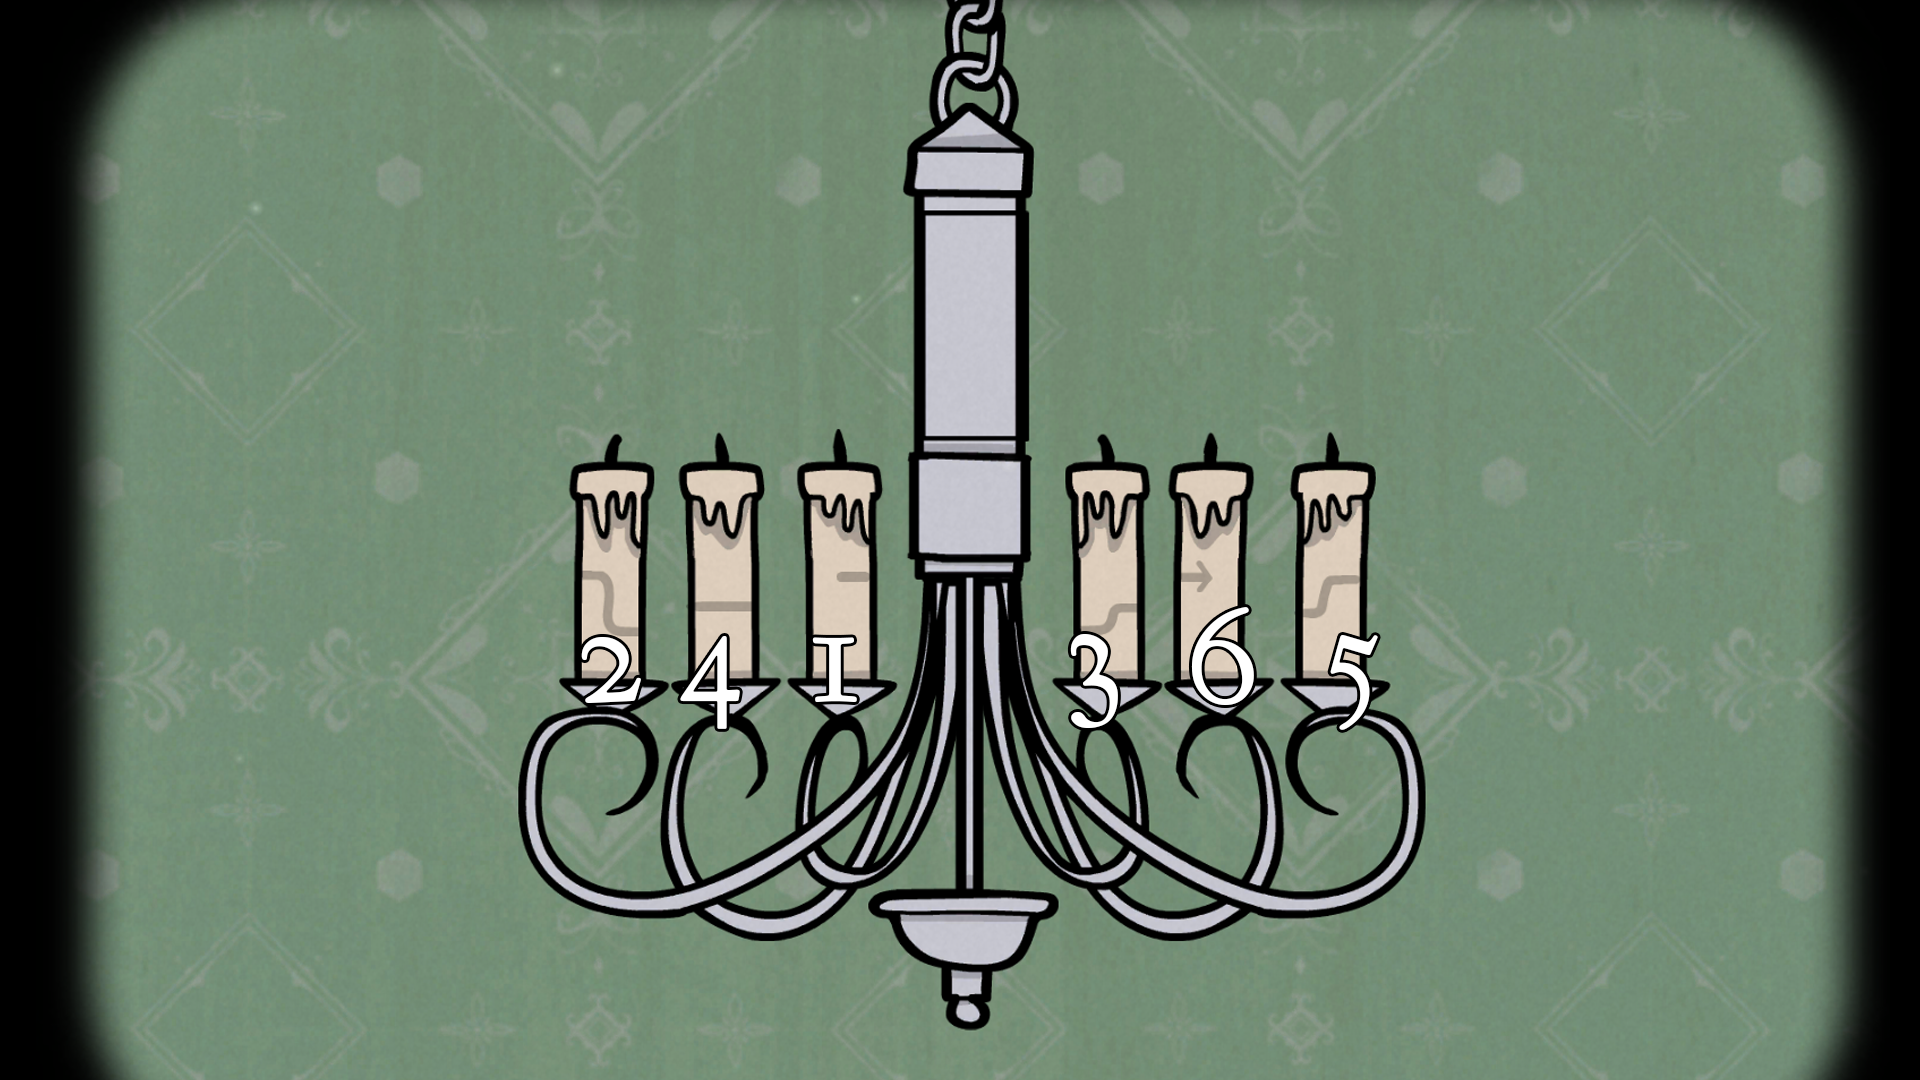
Clean the three messes, take the feather duster, and dust the three hallway portraits. Their clues give 2, 4, and 3, so open the nearby box with 243. Place three candles on the entry candelabra and follow the connected marks to light them in order. Return to the maid and enter the garden.
 🔍 Enlarge Clue
Welcoming the Guests
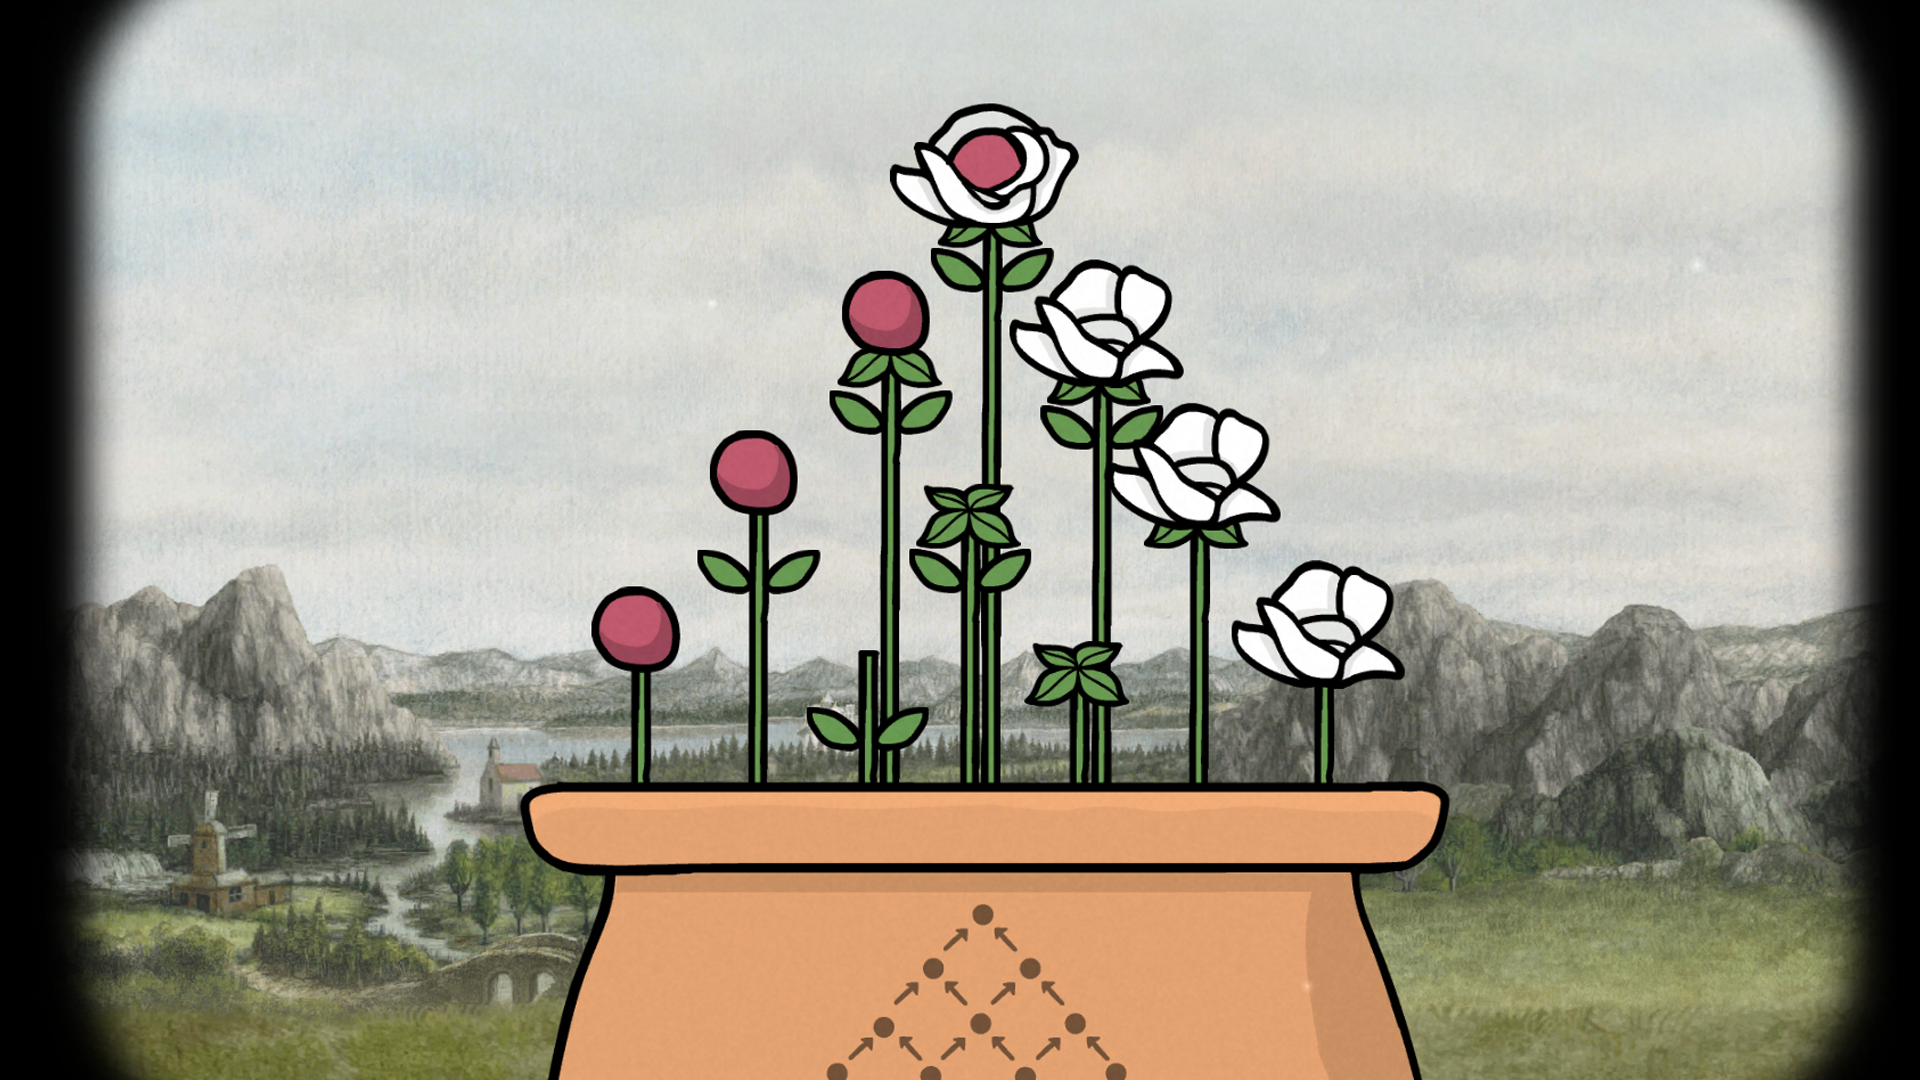
Take the milk jug, small key, and mailbox tablet while clearing the roaches with the movable stone. Complete the flower pyramid from the vase clue and collect its tablet. Place all three tablets into the porch box by nesting each symbol group, take the flag, and raise it. Signal the carriage, help Alexandra out, read the basket’s 374 code, and pack the suitcase without overlaps. Pay the coachman with the coin and the horse with the bill, then finish the farewells.
 🔍 Enlarge Clue
Serving Tea
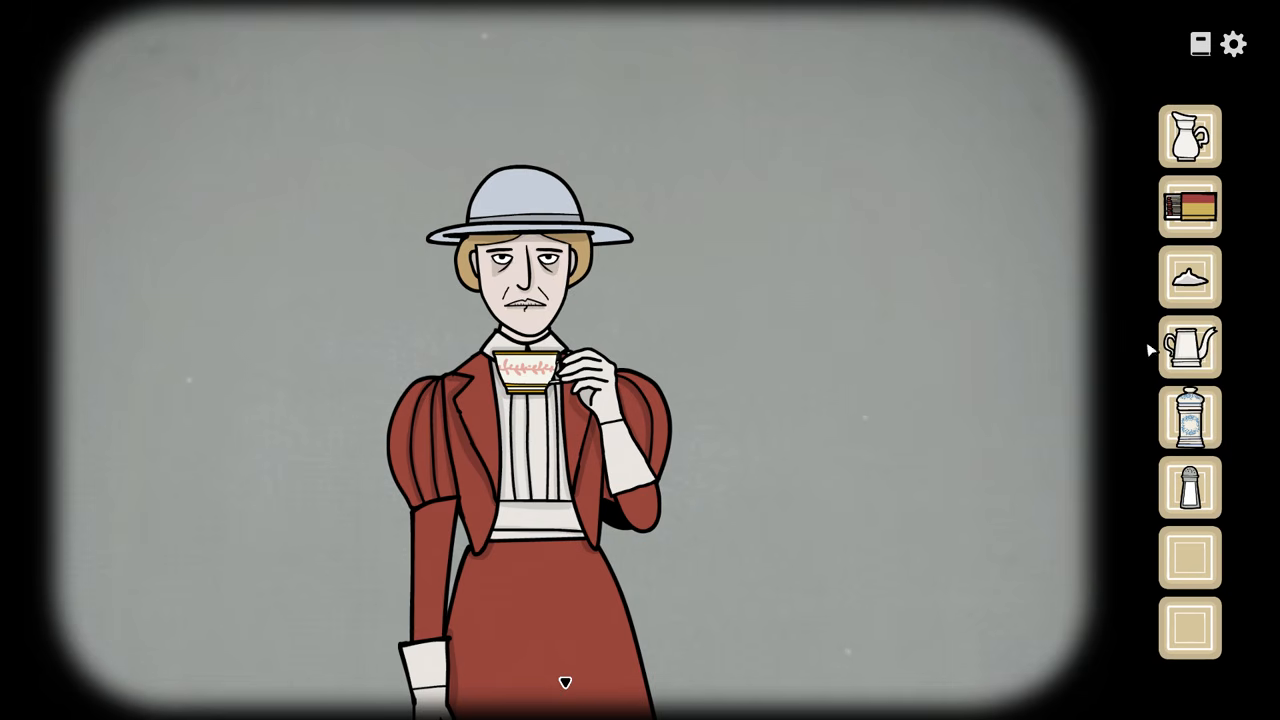
Take sugar from the maid, tea from the table, and hot water from the stove. Get the sticky substance from Rustie and retrieve a cup from the cabinet. Prepare Alexandra’s requested mixture; if the cup breaks, restore it and glue it before serving again. The accepted tea opens the living room.
 🔍 Enlarge Clue
Opening the Reunion
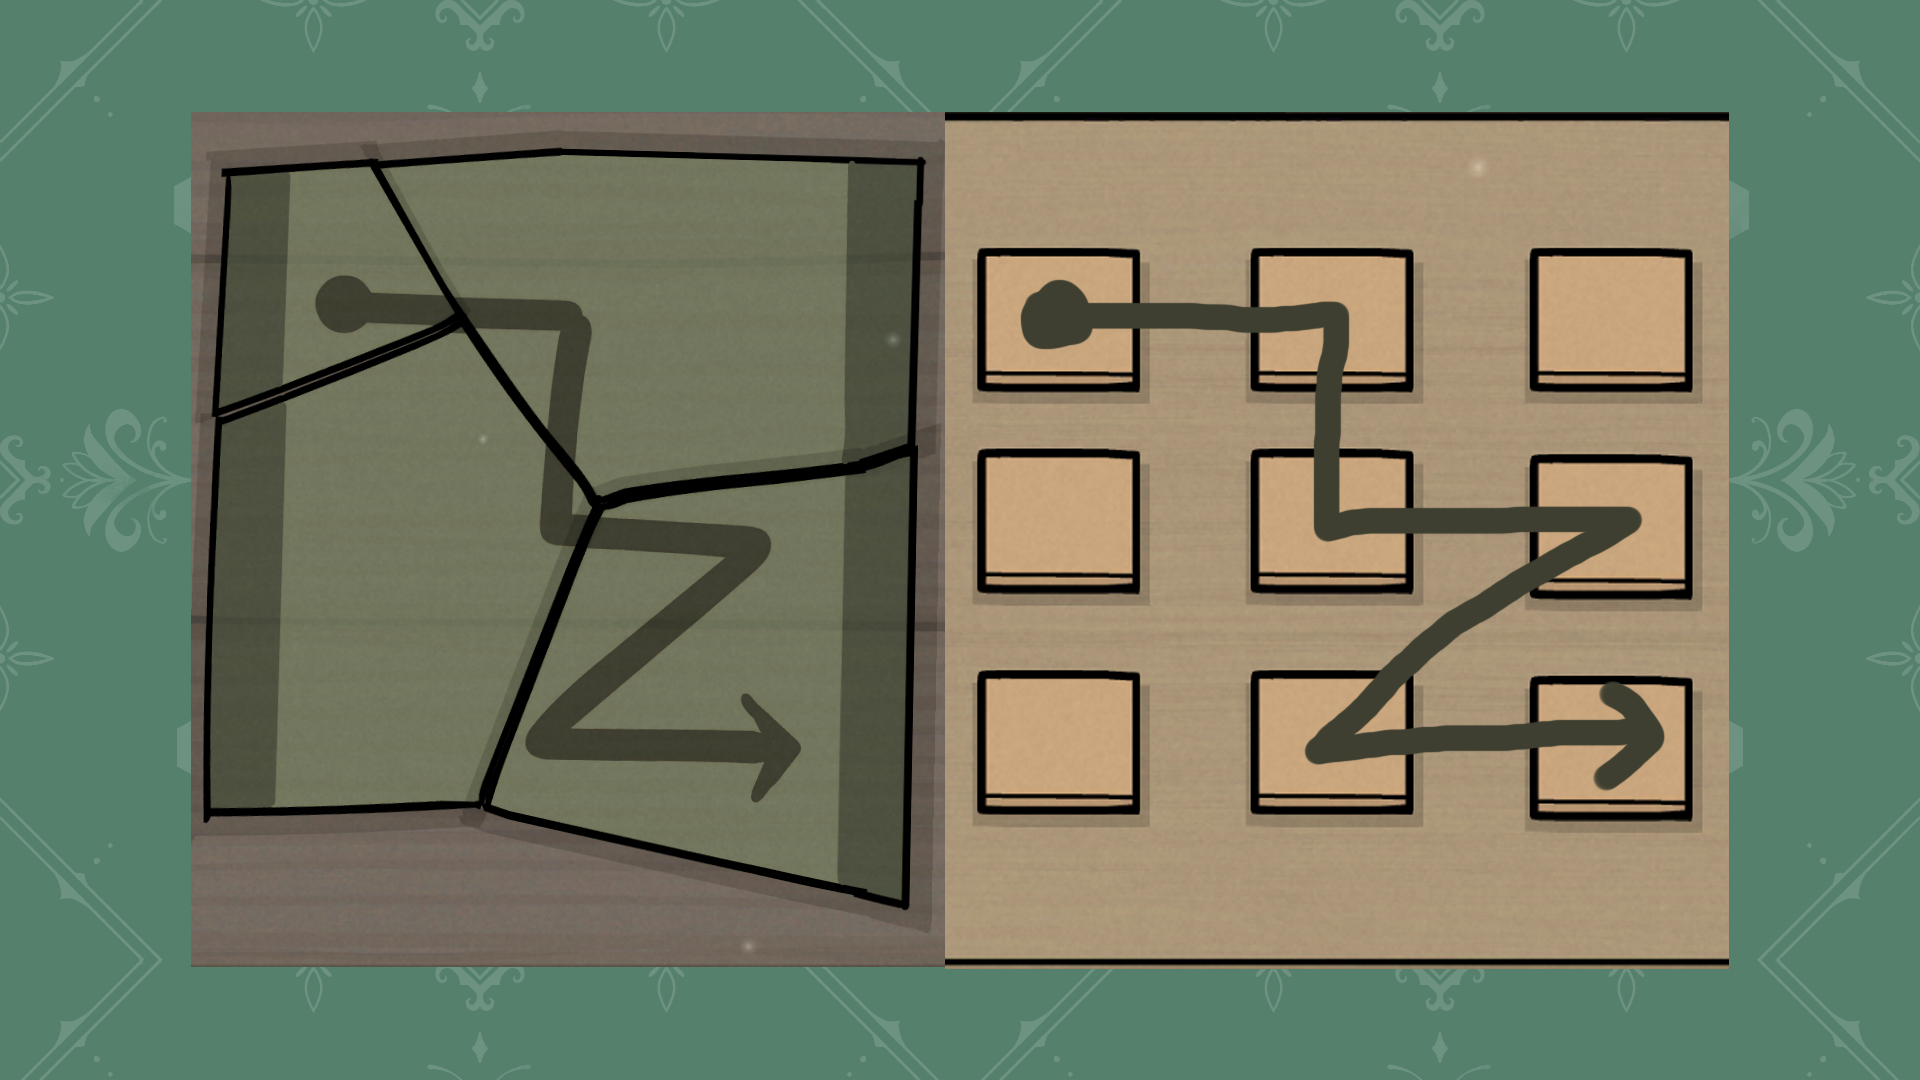
Use the painting title to select timepiece, book, elixir, then fish. Grill the fish, guide the fly to the six pink bulbs with L-L-L-R, L-L-R-L, L-R-R-L, R-L-L-L, R-R-L-L, and R-R-R-R (L means left and R right), then collect the eggs, and open the wine box to 1753. Give William champagne, reconstruct the broken bottle, then enter 1, 2, 5, 6, 8, 9 on its matching cabinet. Put out the mouth fire with the middle tooth as the release and the side teeth as aim. Serve the fish bites and follow Alexandra’s prompts in order: James’s eyes, the moon, her hand, ring, necklace, mouth, the cloud, then her eyes. William’s final waking target is randomized: follow his current gaze rather than a remembered click order.
 🔍 Enlarge Clue
The Night Watch
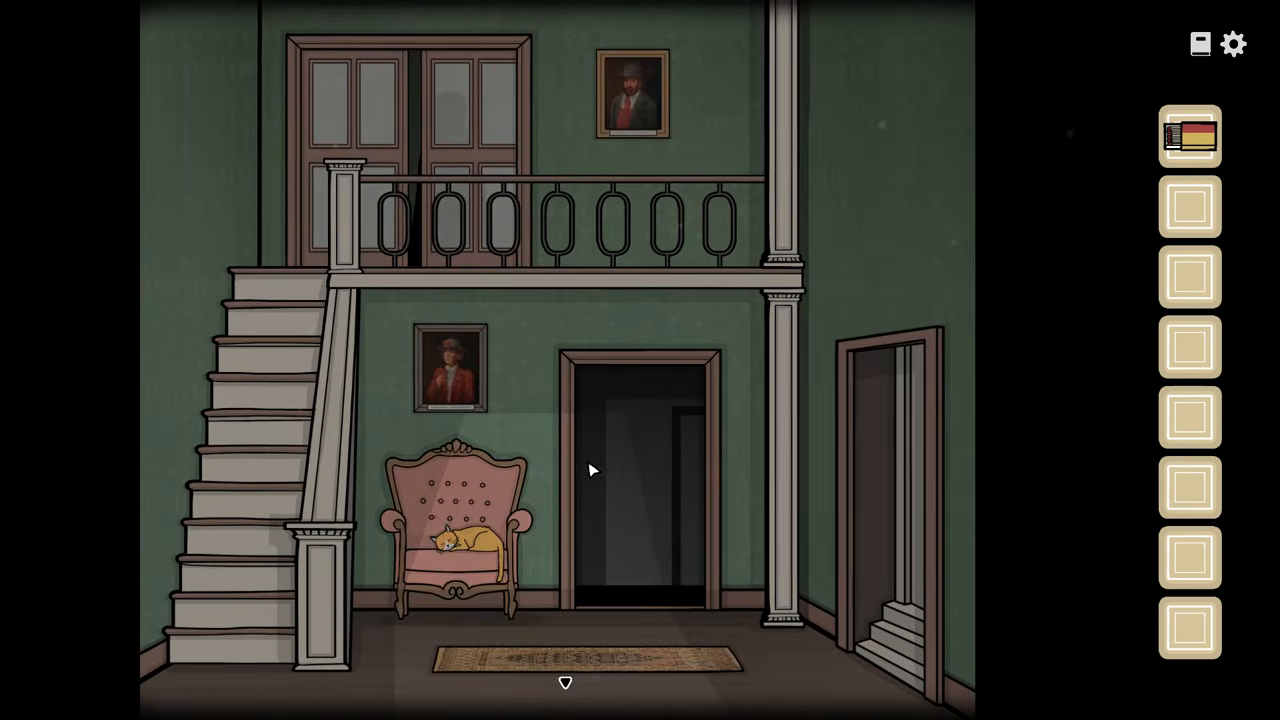
Inspect the halls after the maid explains the patrol. Ring for a shadow, missing pet, broken picture, or open door; blow out a candle when the house looks normal. Get three correct rounds in a row. Find William for the walking stick, use it on the attic hatch, and climb up.
 🔍 Enlarge Clue
Searching the Attic
Sort the tabletop tray by its object themes to reveal the candle. Light the lantern, collect the small statues and rung, then act out the paper story in order until the cube yields a key. Use it on the purse for another statue. Move the clouds to match the red-moon triangle, black-lake six-star pattern, and lit-house five-star pattern. Place all five statues in their matching habitats, take the scroll and second rung, then repair the ladder and open the exit.
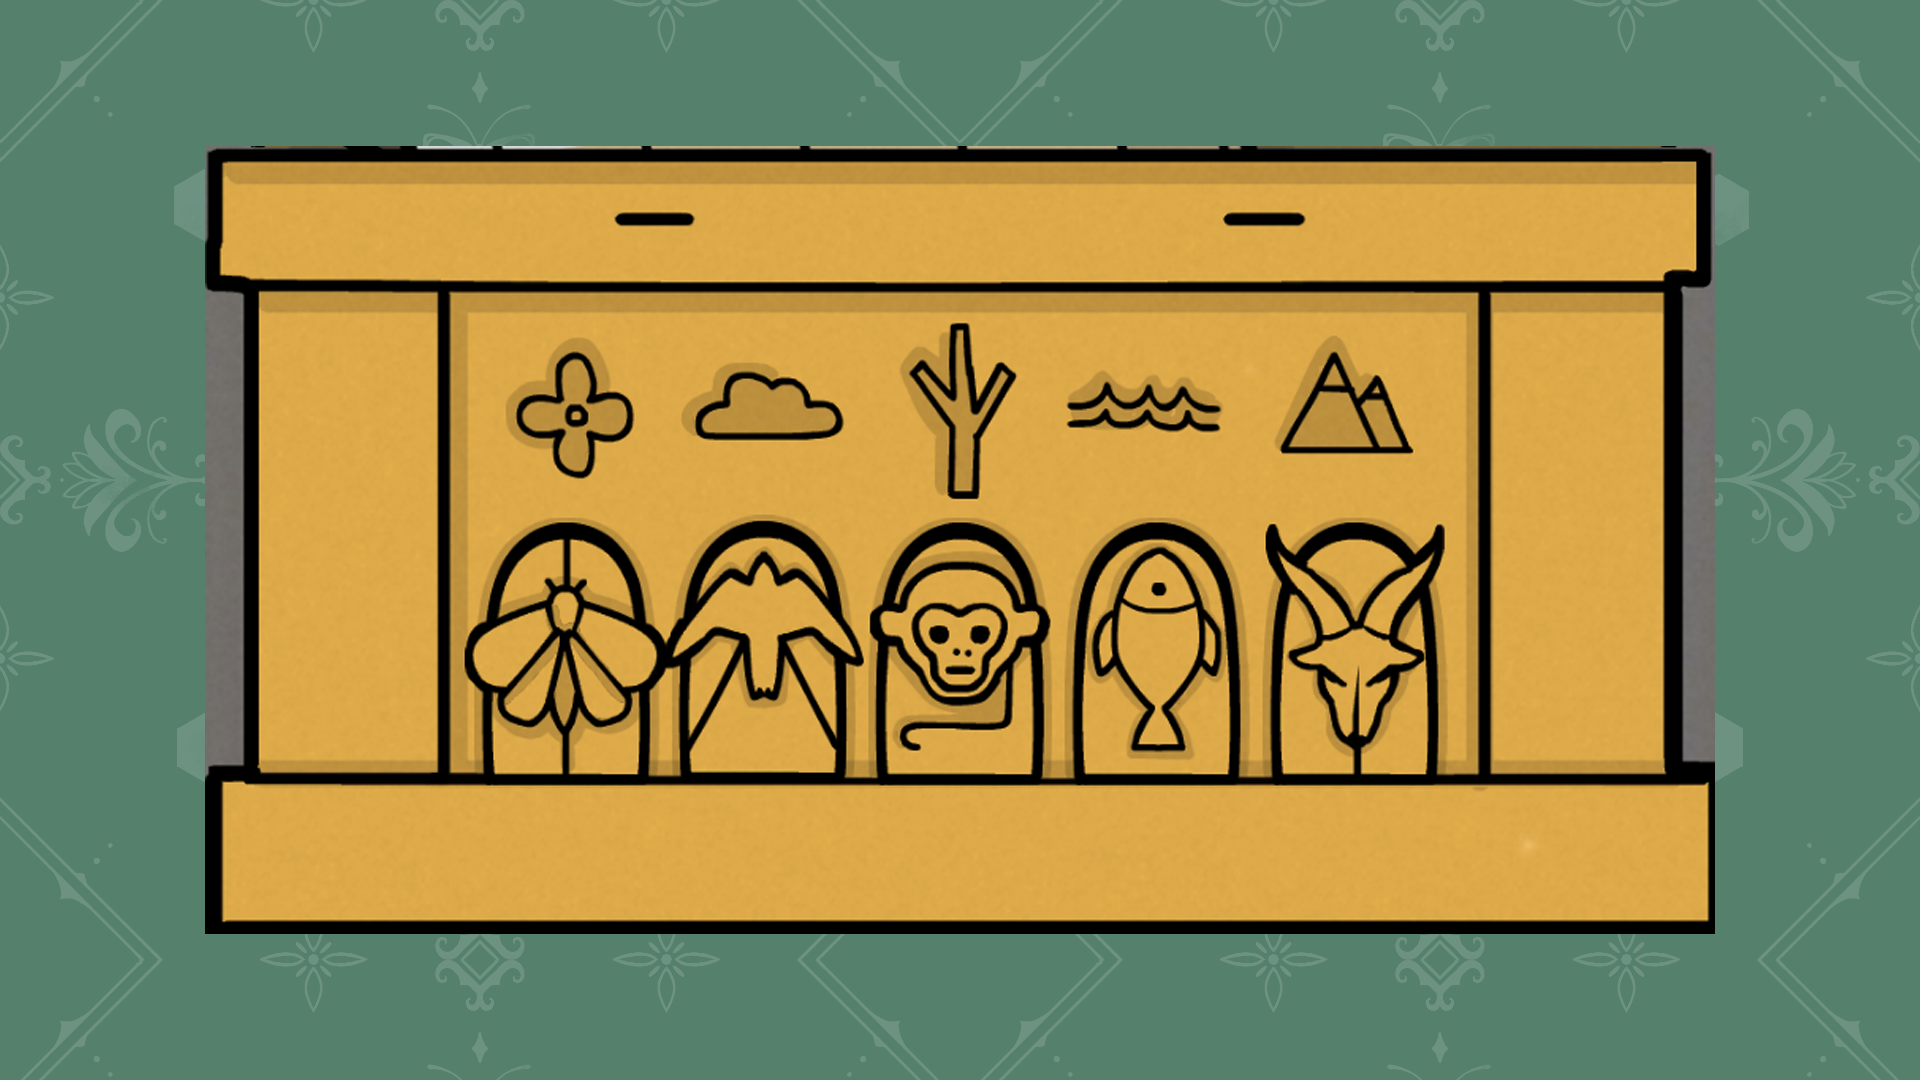 🔍 Enlarge Clue
Day 2
Preparing Coffee
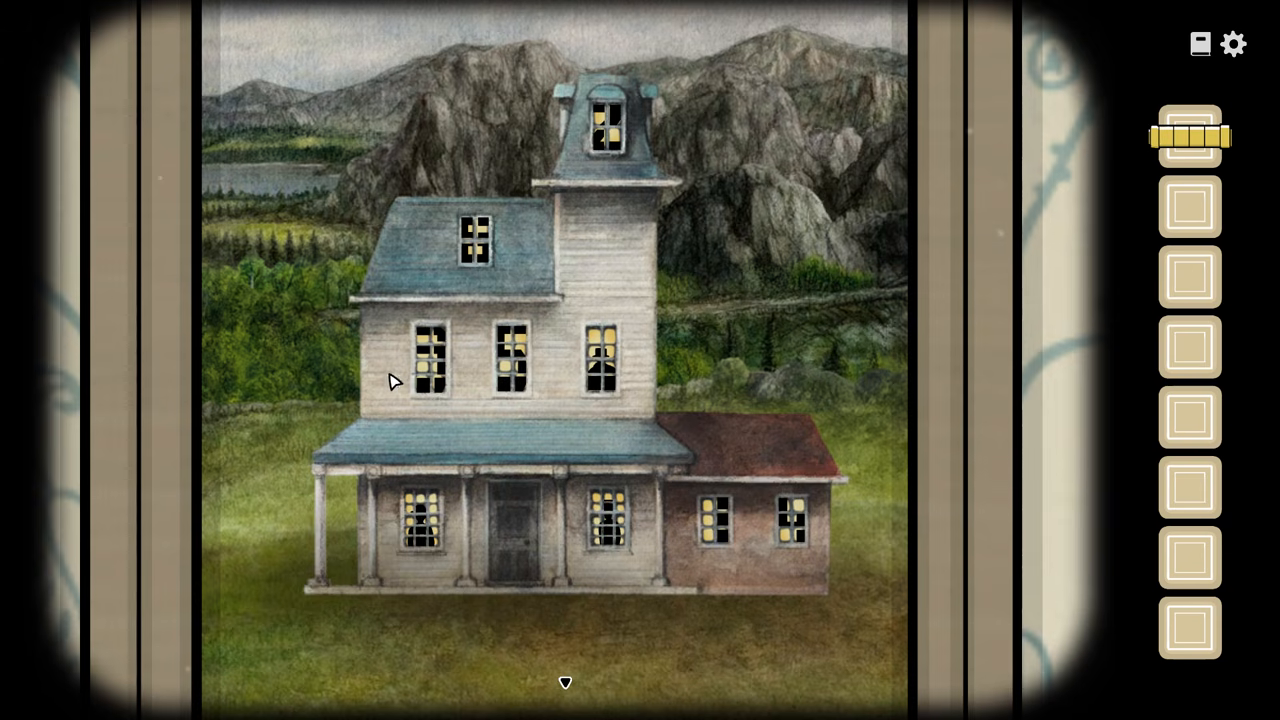
Light every window in the house painting and compare the siblings’ portrait directions. Enter 315 in the Servant’s Room box, grind the beans upstairs, brew them in the kitchen, and serve Aldous. Speak to the maid and enter William’s room.
 🔍 Enlarge Clue
Waking Up William
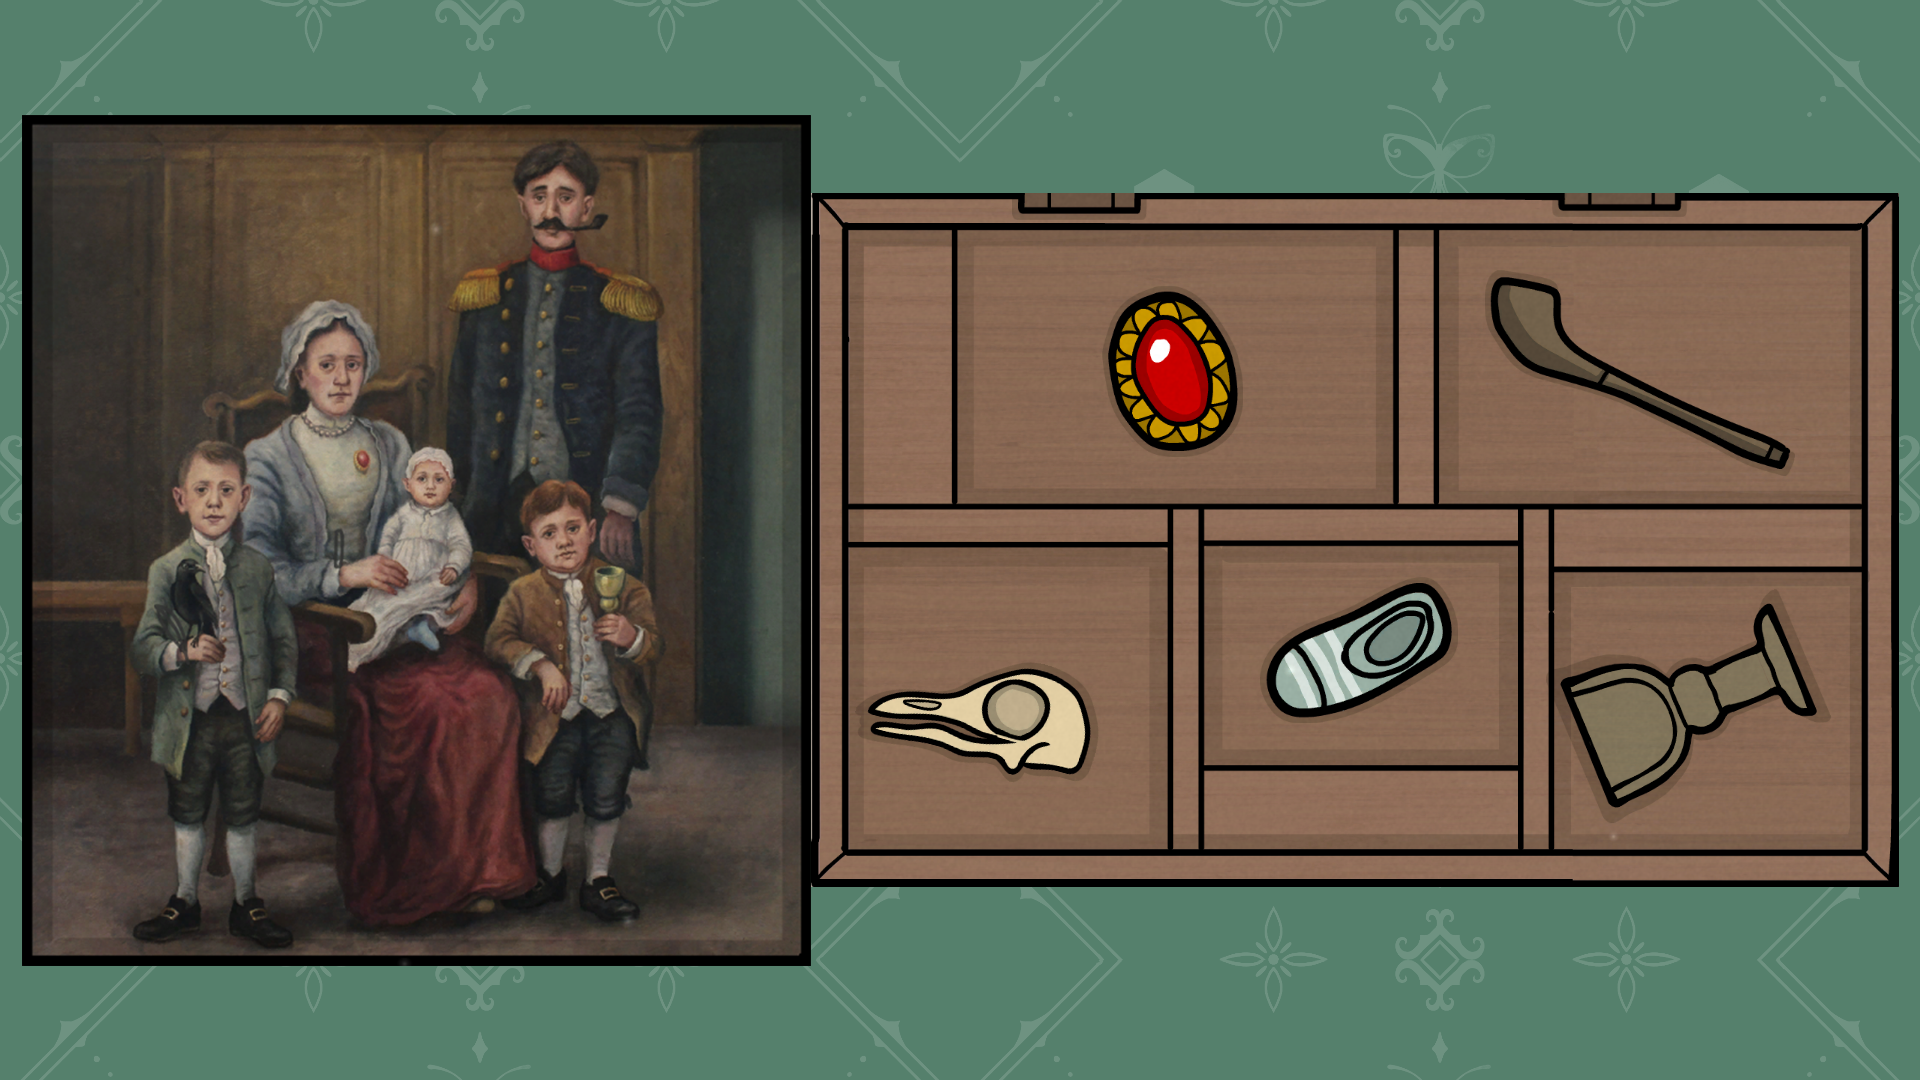
Set the grandfather clock to 9:00 using the pocket watch hidden in the wardrobe. Match the five box objects to the family portrait, then collect the chalice, seed, and feather. Use the feather on William’s toes and follow each twitch’s direction and count; the sequence varies. Take the exposed key, open the eye-drop box, give William coffee and drops, then use rainwater to grow more birdseed and obtain the egg. Give him his hat and egg, open the fish scroll, and follow its story pictures from house through the person.
 🔍 Enlarge Clue
Cleaning the Floors
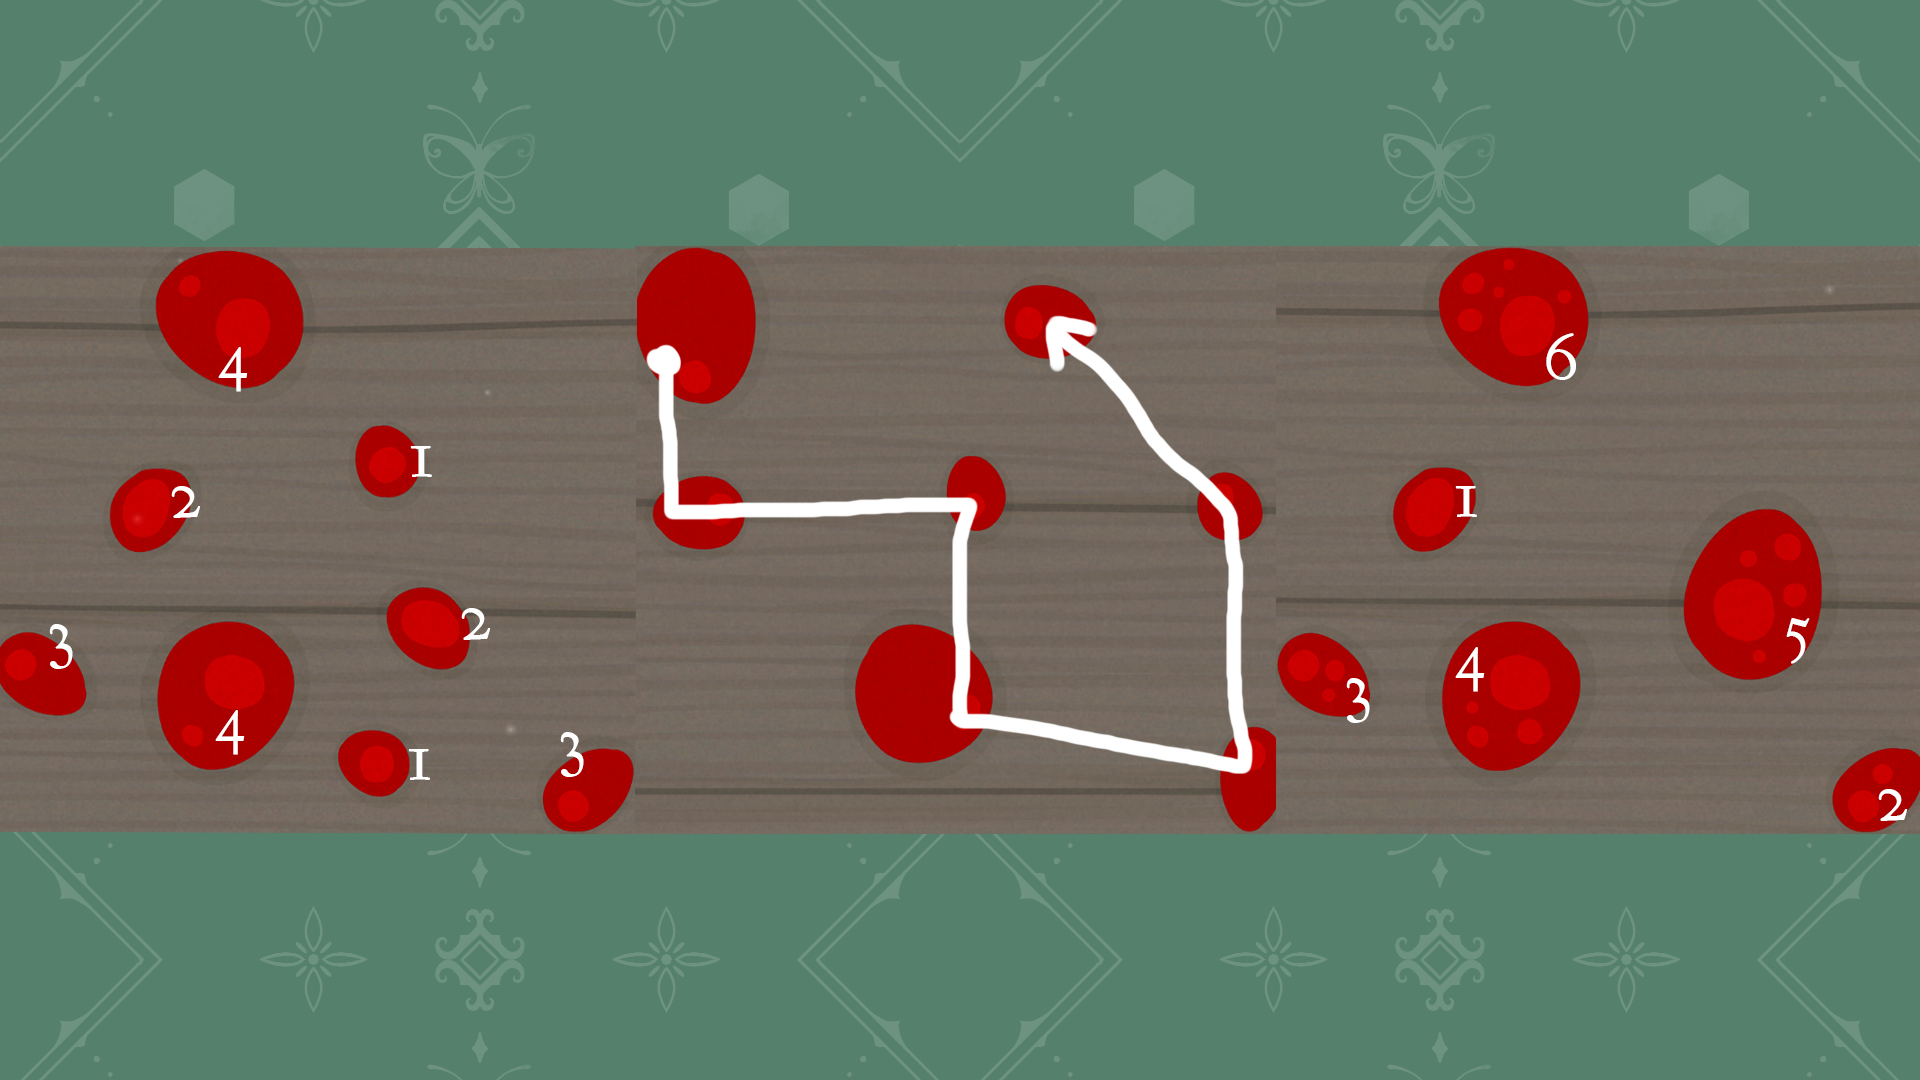
Take the scrubber and treat the stains as three different puzzles: follow the directed marks by the bathroom, order the maid’s stain by circle count, and match pairs in the Servant’s Room. These are not one shared size-order rule. Check the bathroom keyhole, then climb down the balcony ladder.
 🔍 Enlarge Clue
Going Hunting
Take bullets and rifle, then use the hunting note to find each animal. The deer appears after William has been shot twice; reveal the boar and rabbit around their hiding places before aiming. Reload at the stump as needed. For the shed, map sight, smell, touch, taste, and hearing to 9, 1, 2, 7, and 6, then enter 91276. Take the knife and cloth, give Aldous the knife, steal the silver timepiece while blood covers his eyes, and clean his face.
Doing the Washing
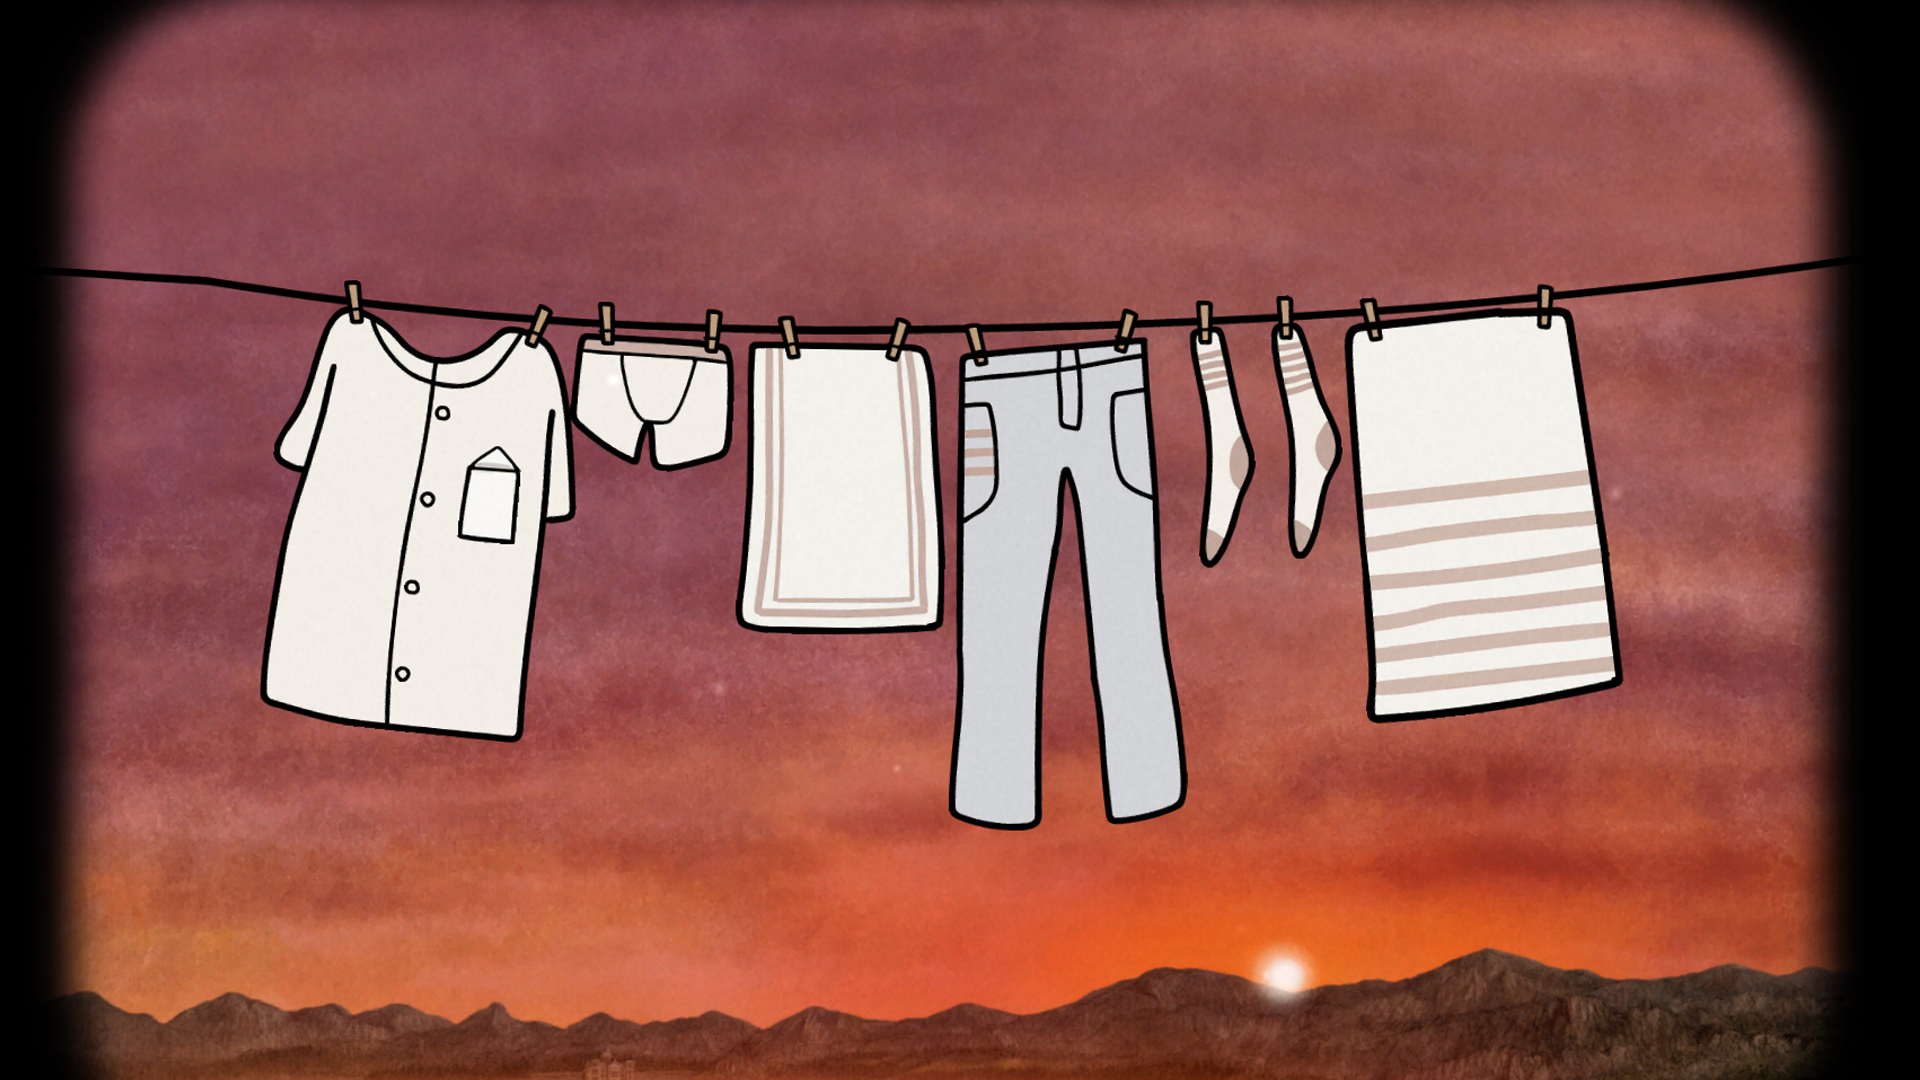
Gather the dirty clothes, James, diaper, and last clothing piece from the appropriate rooms. Give James to Kate for the diaper; put all clothing into the tub and hang it on the balcony line. Order the pieces by their red-stripe count and check the shirt pocket for the bathroom key.
 🔍 Enlarge Clue
Helping with Bathing
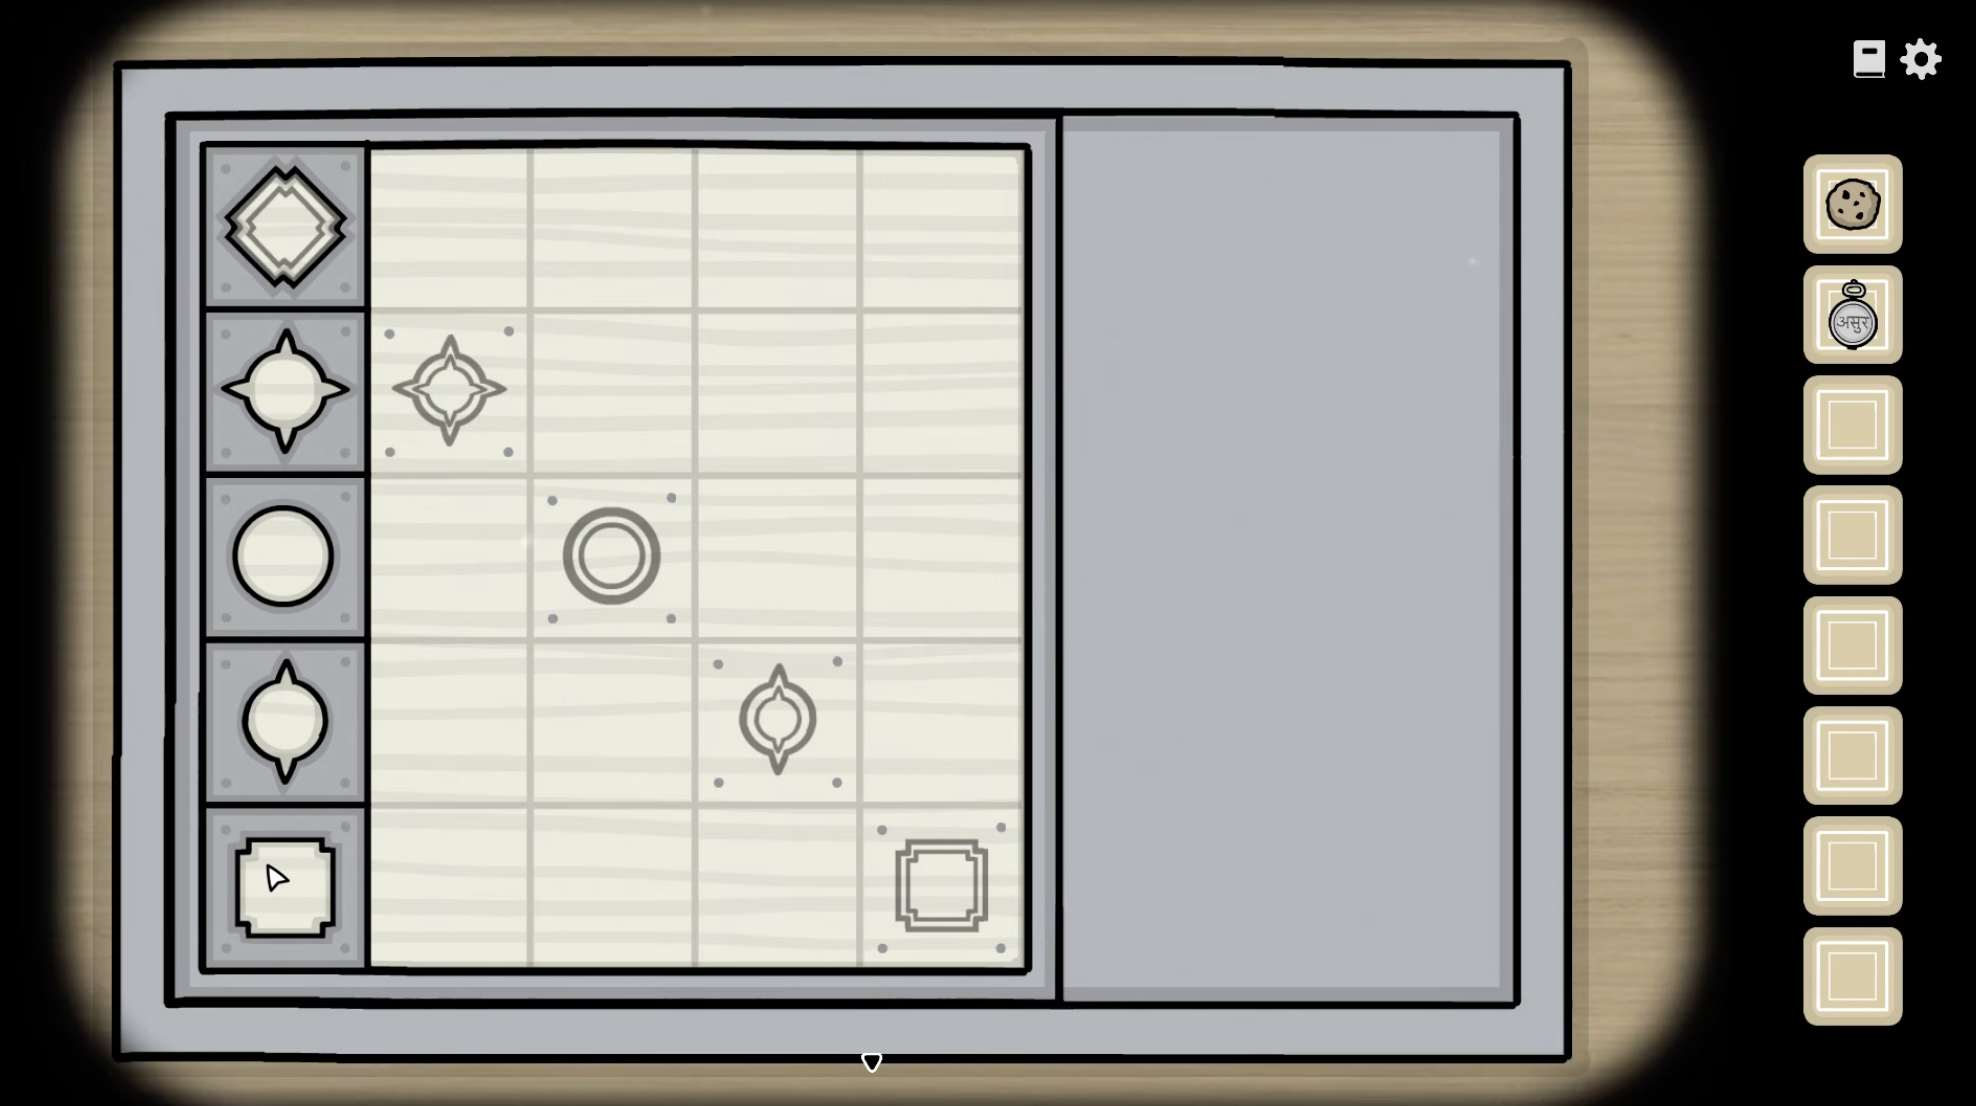
Group the bathroom tiles into six families of four to get scissors. Fill the tub, align the soap-box holes with its guides starting from the middle piece, and take the soap. Get Alexandra’s hairpin and maggot to make the bone comb; then comb her hair and help her into the bath. Pop the bubble that makes the whole current chain collide. Use the hairpin on the hand, then take the pendant while her eyes are closed. Retrieve both notes from her gown and hat; align the X marks to get 281, then use the pendant on the suitcase’s inner box for the bronze timepiece.
 🔍 Enlarge Clue
Night Time Duties
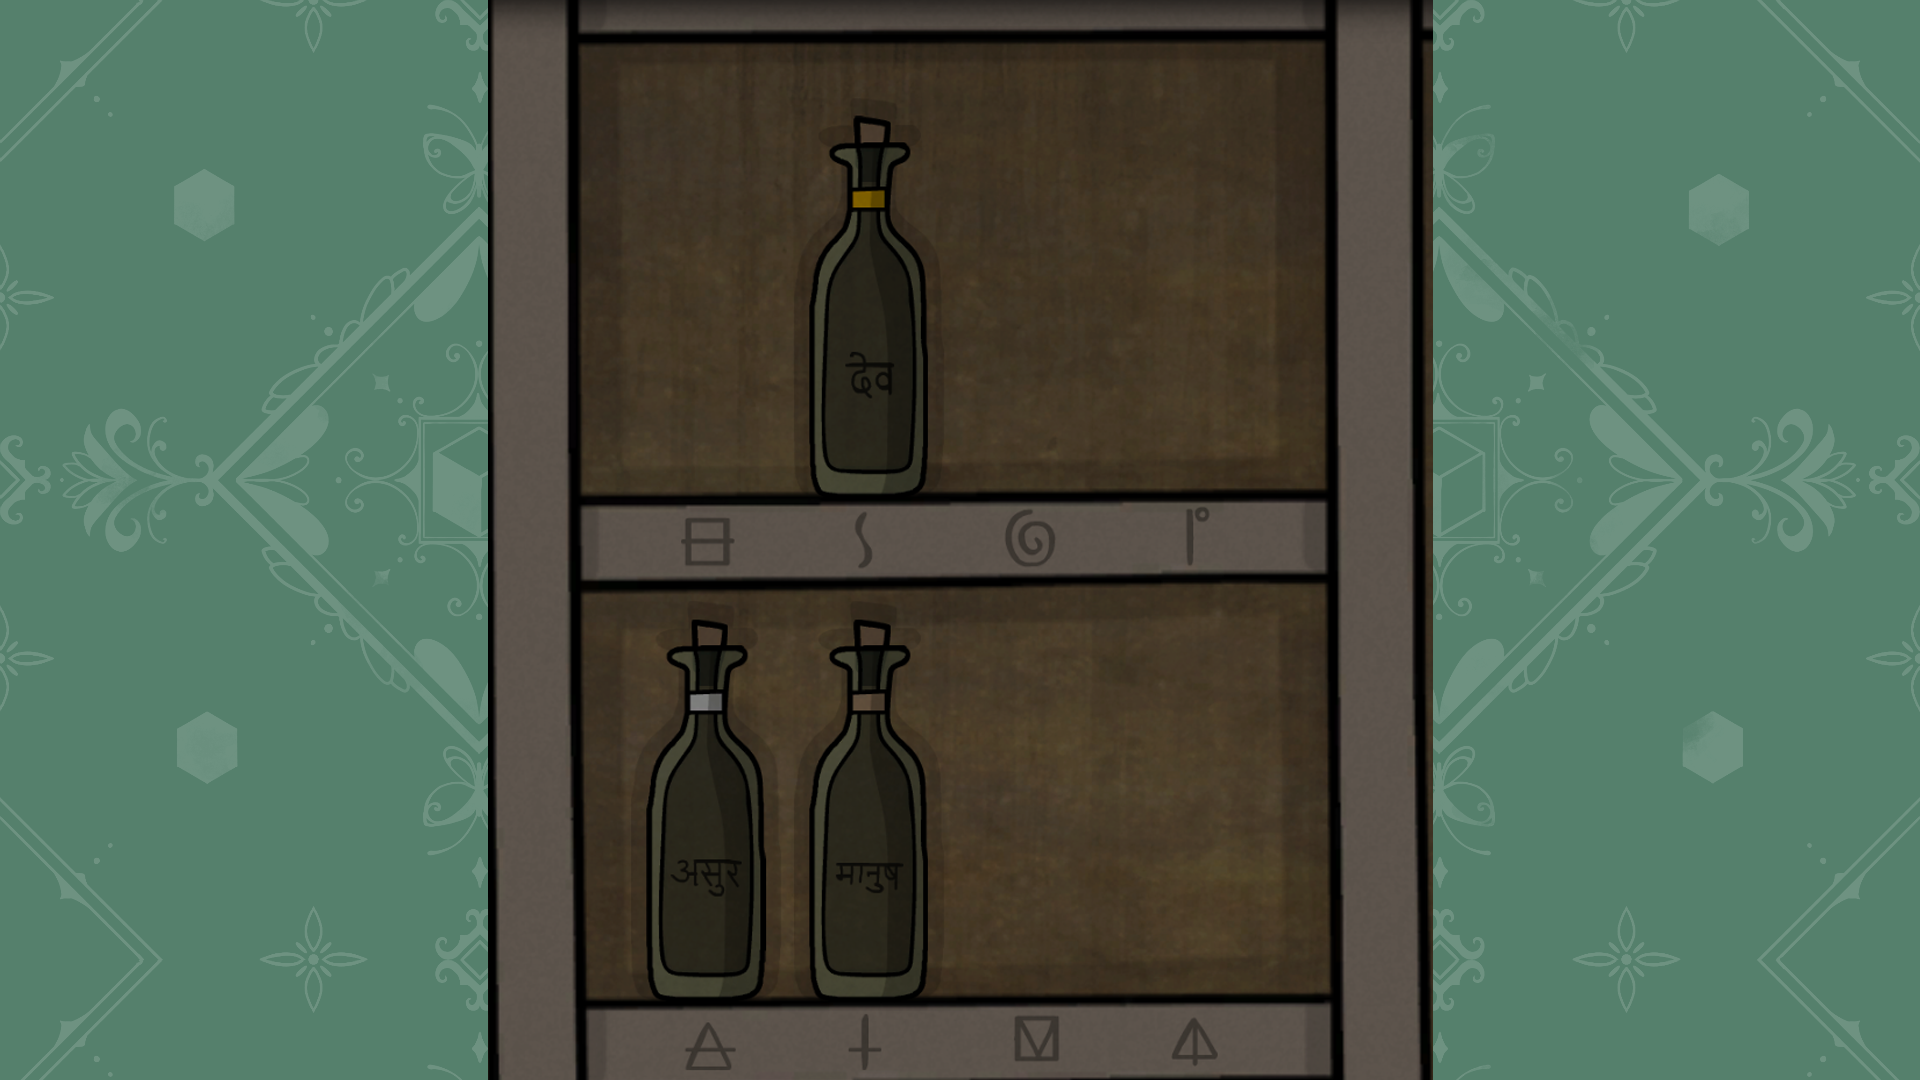
After William hands over the gold watch, place each watch on its owner’s portrait to reveal a symbol. In this main-story shelf, gold goes to S, silver to the triangle with a horizontal line, and bronze to the cross. Enter the barrel passage when it opens.
 🔍 Enlarge Clue
Inspecting the Cellar
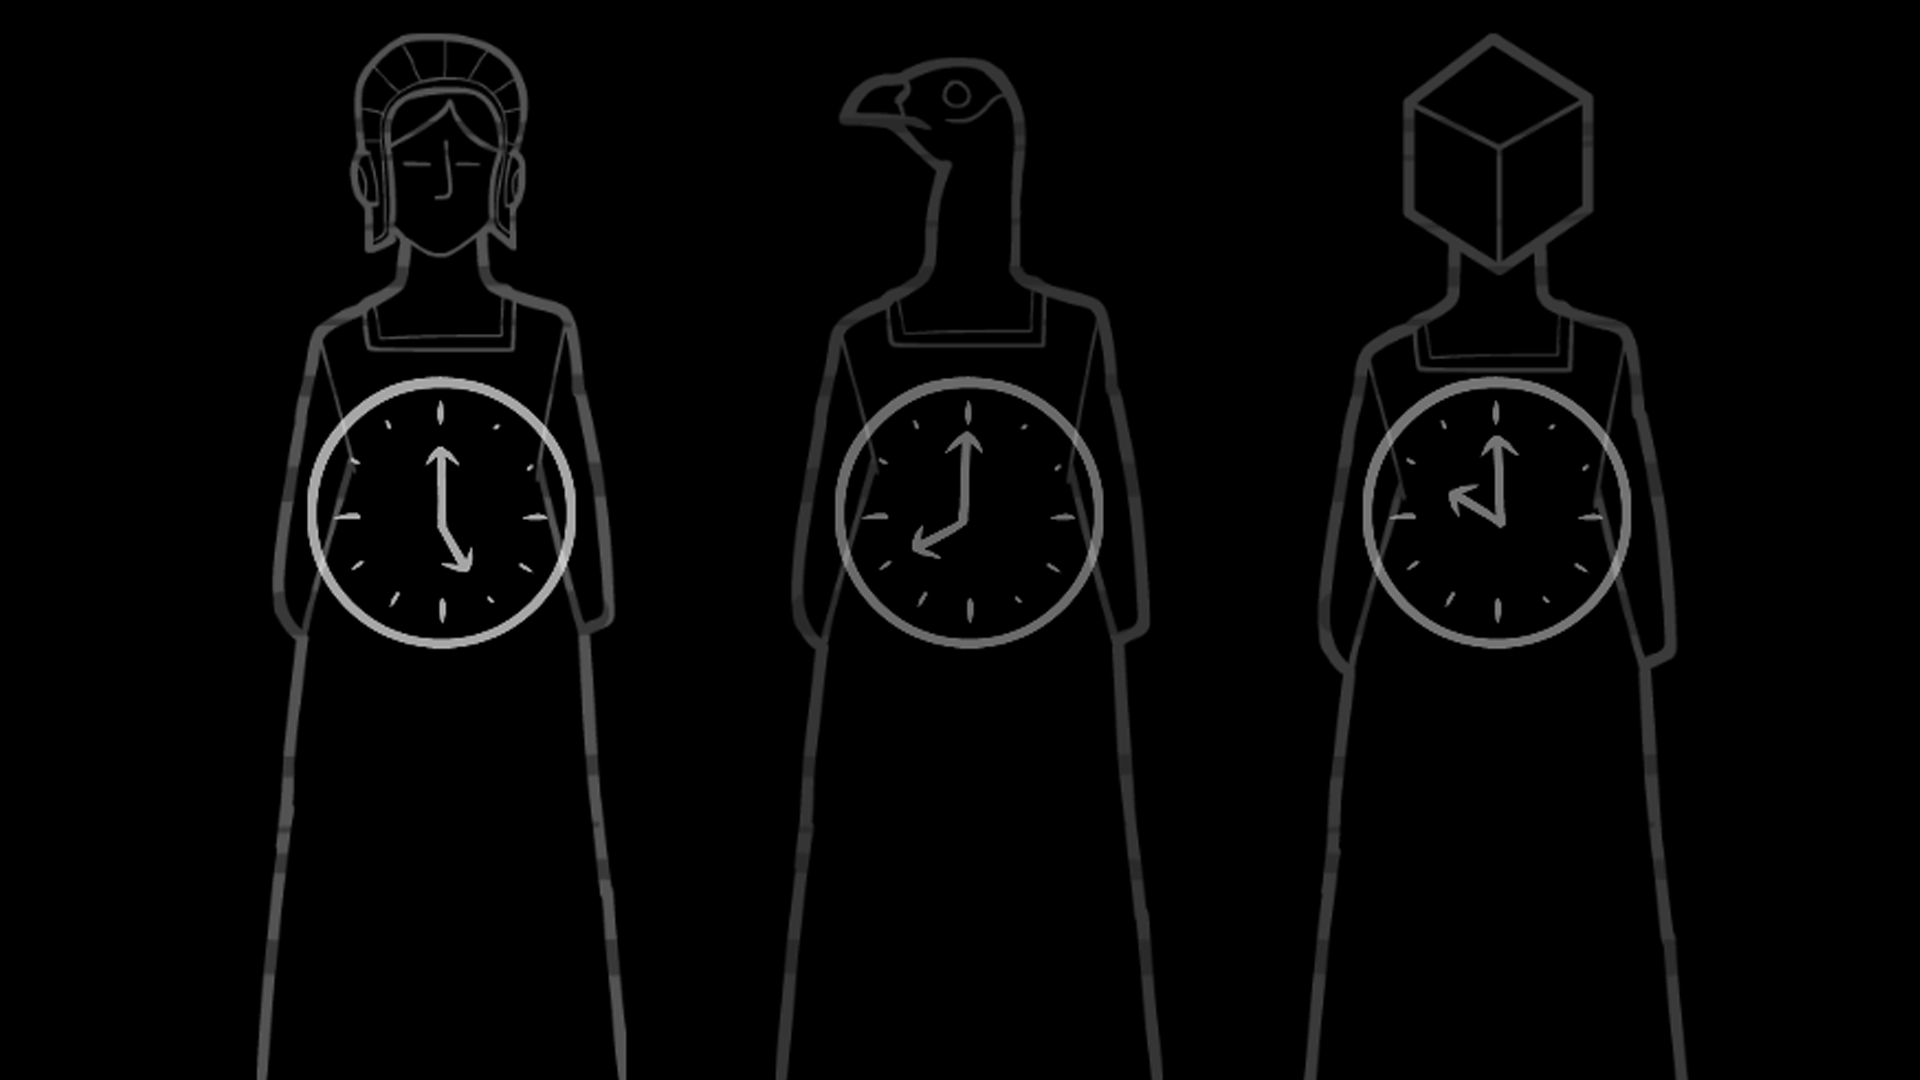
Choose tools by passage: spade, magnet, and matches for the left; corkscrew, bottle, and matches for the middle; hook, weight, and sledgehammer for the right. Use the magnet and spade to reach the left torch, run oil through the middle passage and ignite it twice, and hang the weight to open the right gate before breaking the pillar. Collect the three displayed times—5:00, 8:00, and 10:00—set the statues in that order from left to right, and give the recovered book to Aldous.
 🔍 Enlarge Clue
Day 3
Looking for the Cat
Talk to Kate, give William the hammer, and take the pebble from Aldous’s bust. Throw it toward the shape beyond the estate window. Follow Rustie under the chair, behind the bust, and into the stove after hearing William. Read Kate’s note, then open the laboratory painting in hat, rifle, bear, crow order.
Assisting in Alchemy
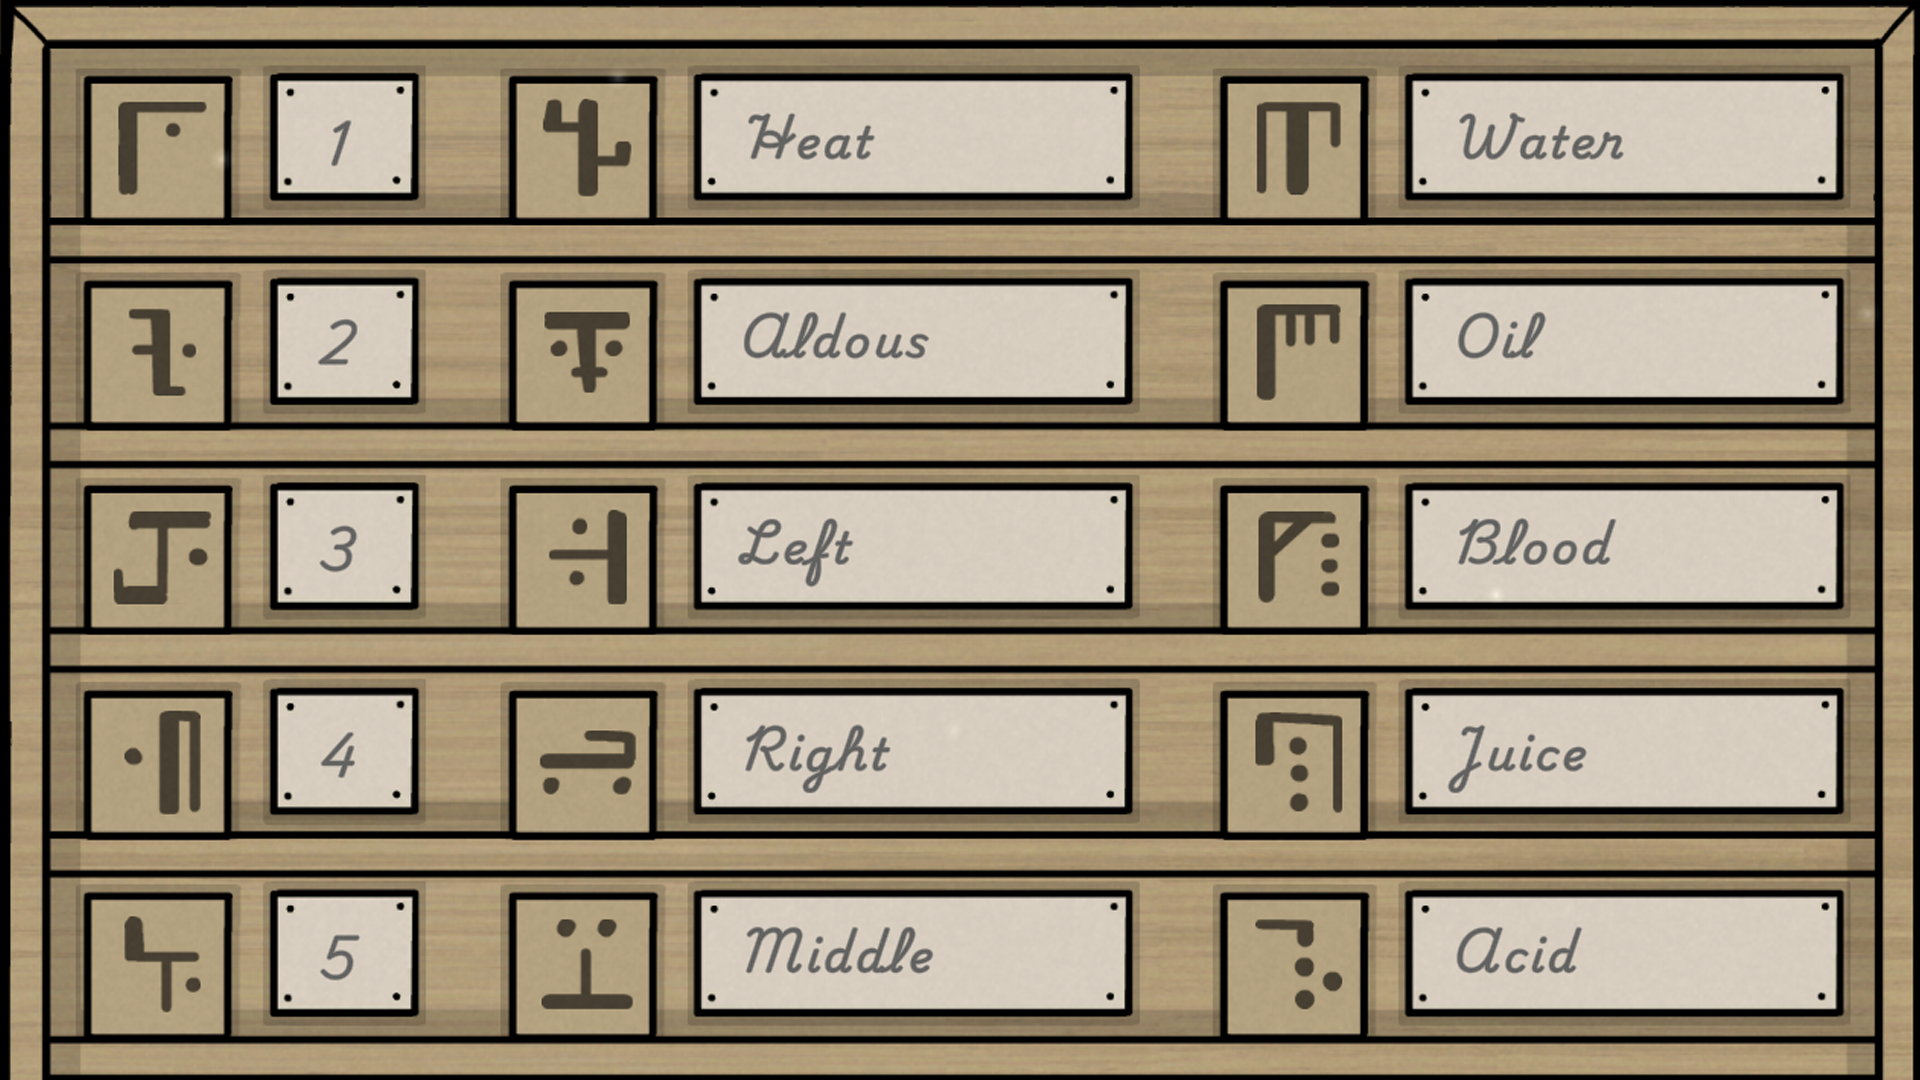
Read the lab’s clues in three groups: numbers, directions, and liquids. Open the arrow box with left, left, right, right, left, right; open the cabinet with 2451. Make oil with two left and three middle pump presses, and acid with four right and one left. Acid gives the meat; grind it four times for blood. Water the plant four times, add one blood drop, and grind the fruit four times for juice. Give the parrot five water drops for an egg. Add egg, one juice, one acid, one oil, and three blood to the heated bottle; take the green elixir to Aldous.
 🔍 Enlarge Clue
Unforeseen Maintenance
Take Rustie’s adhesive, the statue head, chair parts, stove cover, and balcony piece. Reassemble the damaged chair and statue, restore the damaged portrait canvases, replace the balcony piece and stove cover, then speak to Kate before entering the kitchen.
Preparing Dinner
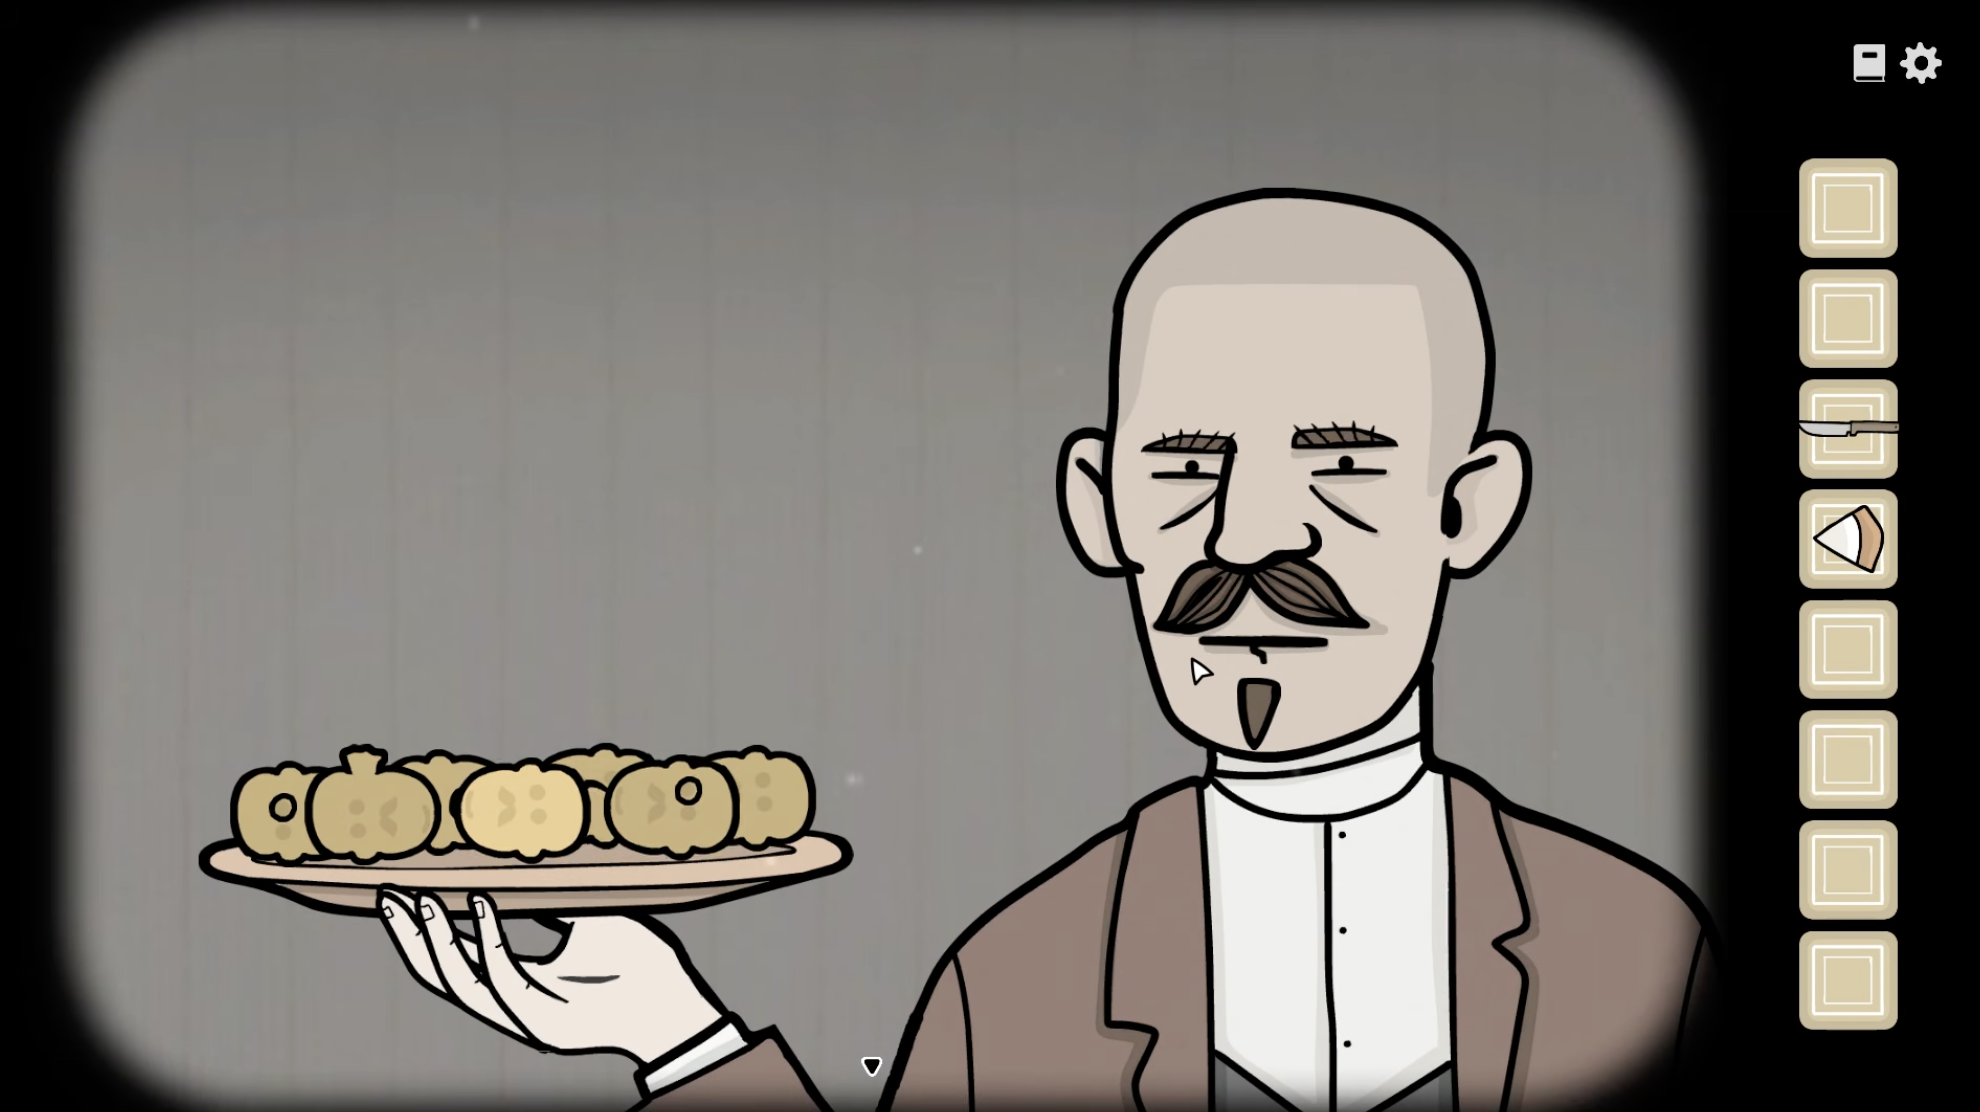
Take the knife, wood, onion, potato, shrimp, tomato, oil, and William’s mushroom. Separate the mixed liquids in the bottles until each is one colour. Cover every hole in the cake decoration. Bake potatoes and respond to Aldous’s changing face with the matching shape; then use the spoon on the soup and follow the vision: William’s hat, coffee, bottle, and book; Alexandra; carriage; moon; basket; Aldous; Kate. Speak to Aldous to finish.
 🔍 Enlarge Clue
Dressing up for Dinner
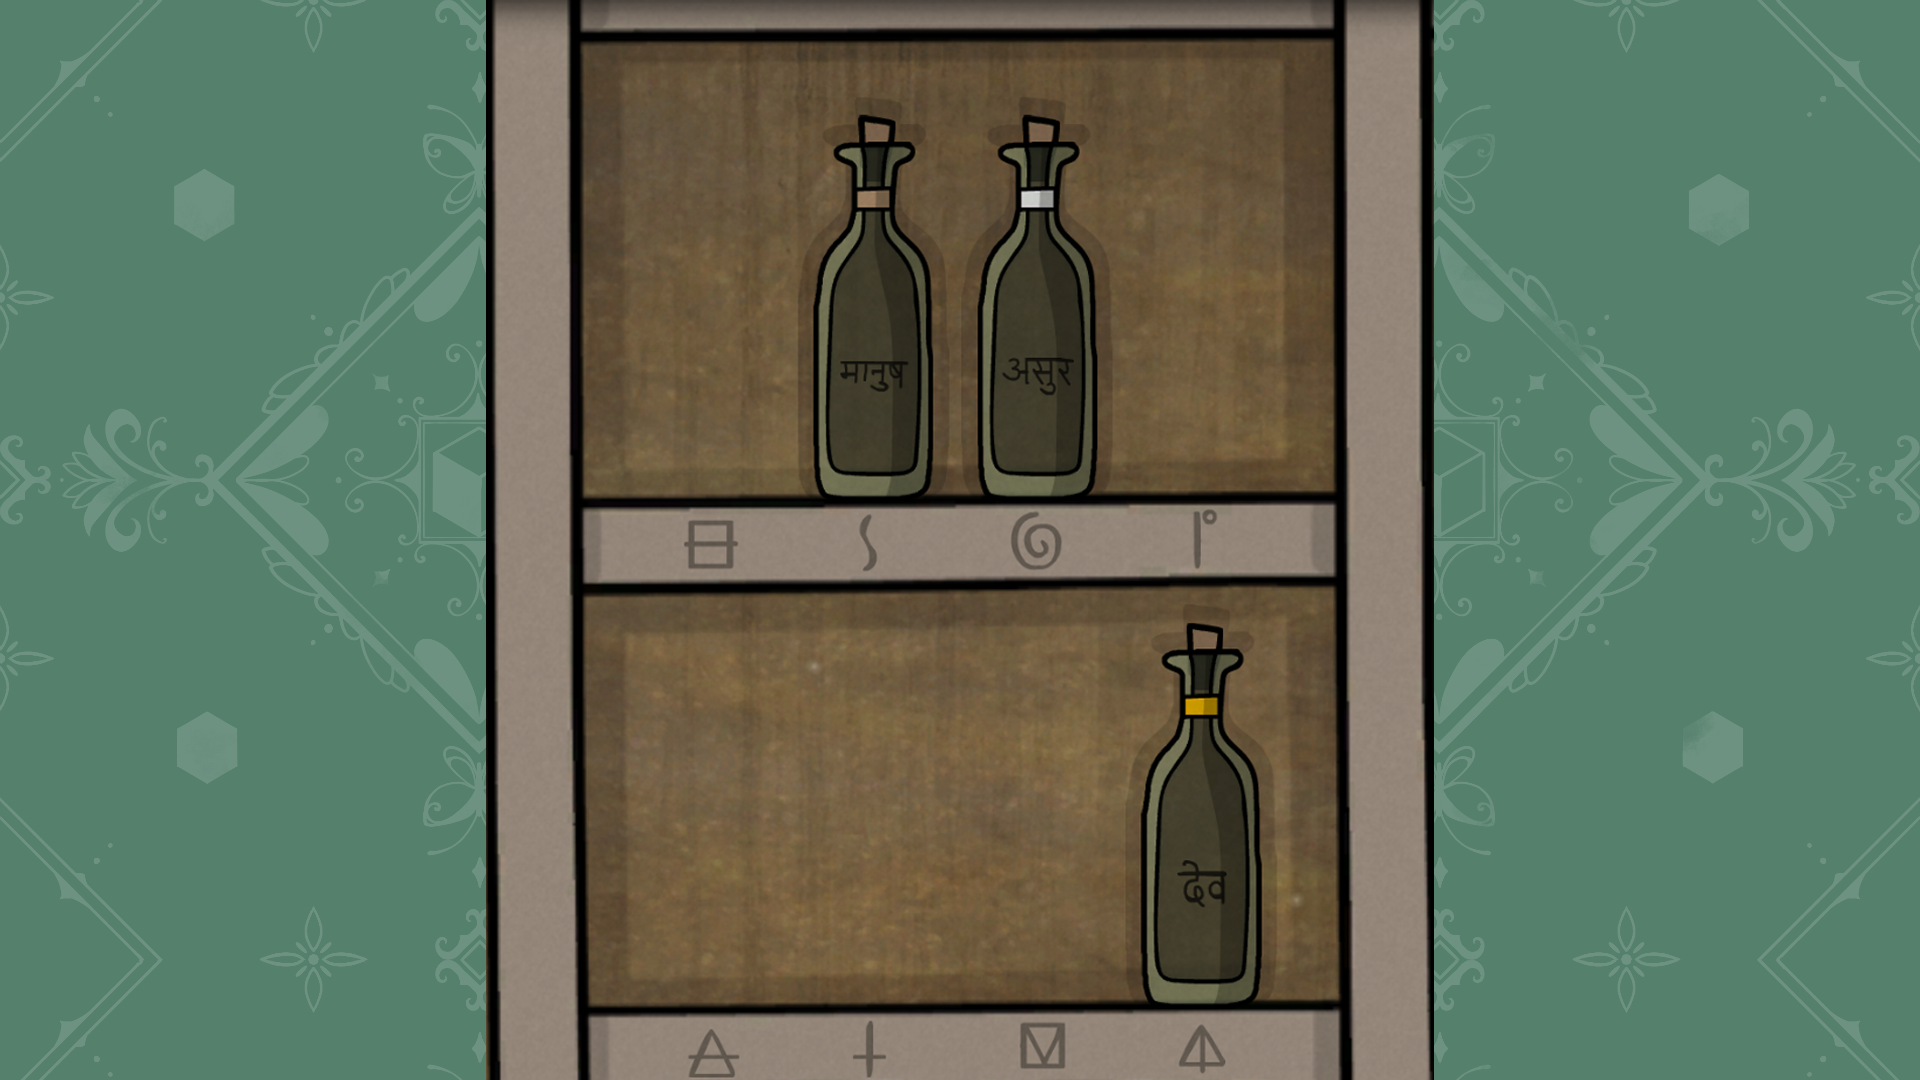
Set the wine box to 1643, collect the wine, and prepare the siblings and James with their requested clothing and items. Restore the house portraits before reading their watch colours and symbols. This dinner-state shelf is gold at the vertical-line triangle, bronze at S, and silver at the spiral; use it to open the golden chest, prepare James, and enter the dining room.
 🔍 Enlarge Clue
Serving Dinner
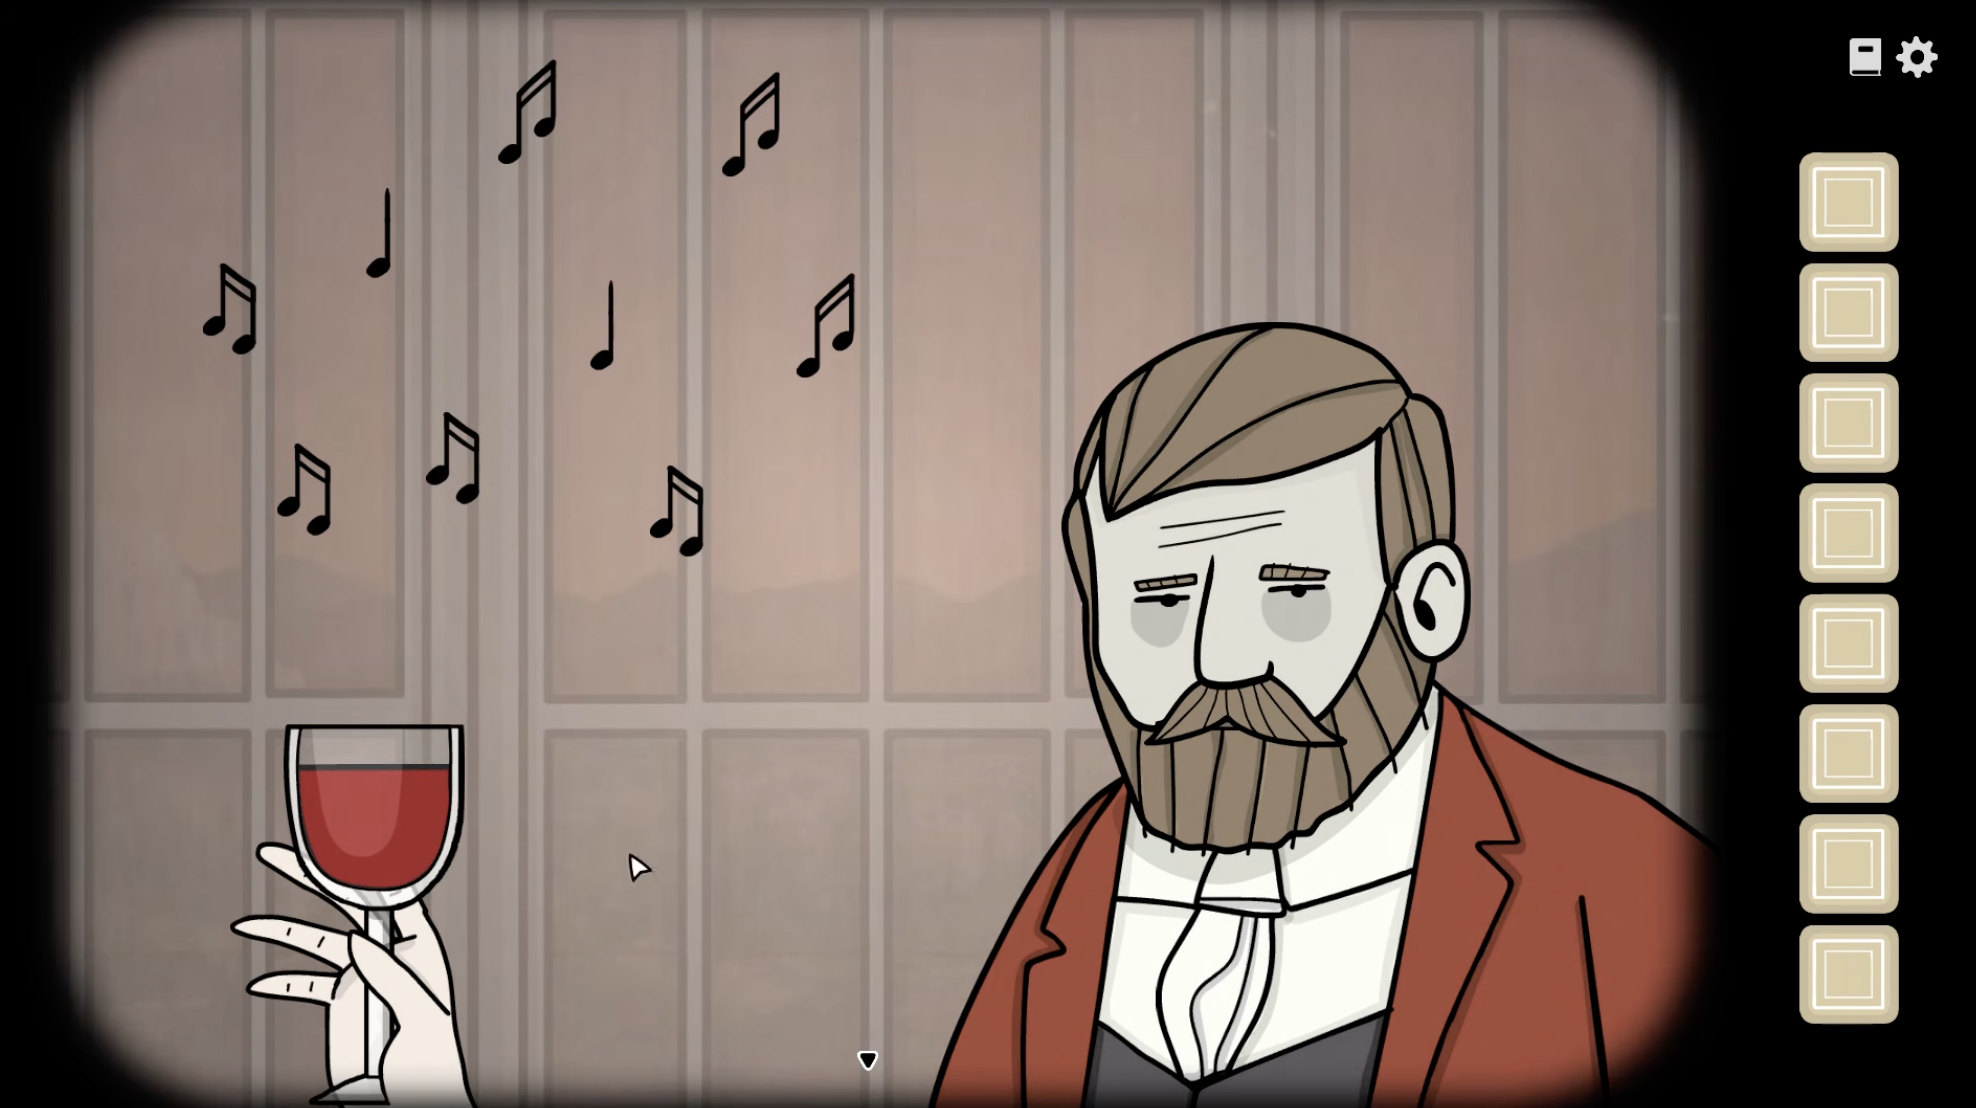
Serve red wine and the three courses according to each guest’s note. Starters: Aldous gets onion ring and broccoli, Alexandra rabbit ear and pâté toast, and William bacon and fish. Main course: Aldous gets potato and broccoli, Alexandra two drumsticks and carrot, William one of each of the four items. Dessert: Aldous gets two cheeses, Alexandra the cake, William three pastries. Catch the falling notes in William’s glass by following their actual paths. Mirror Alexandra’s left-to-right harp strings in the sequences 1-1-1, 3-2-1, 1-5-1-3, and 5-4-3-1-2. Cut the chandelier rope when Aldous draws his gun.
 🔍 Enlarge Clue
The Departure
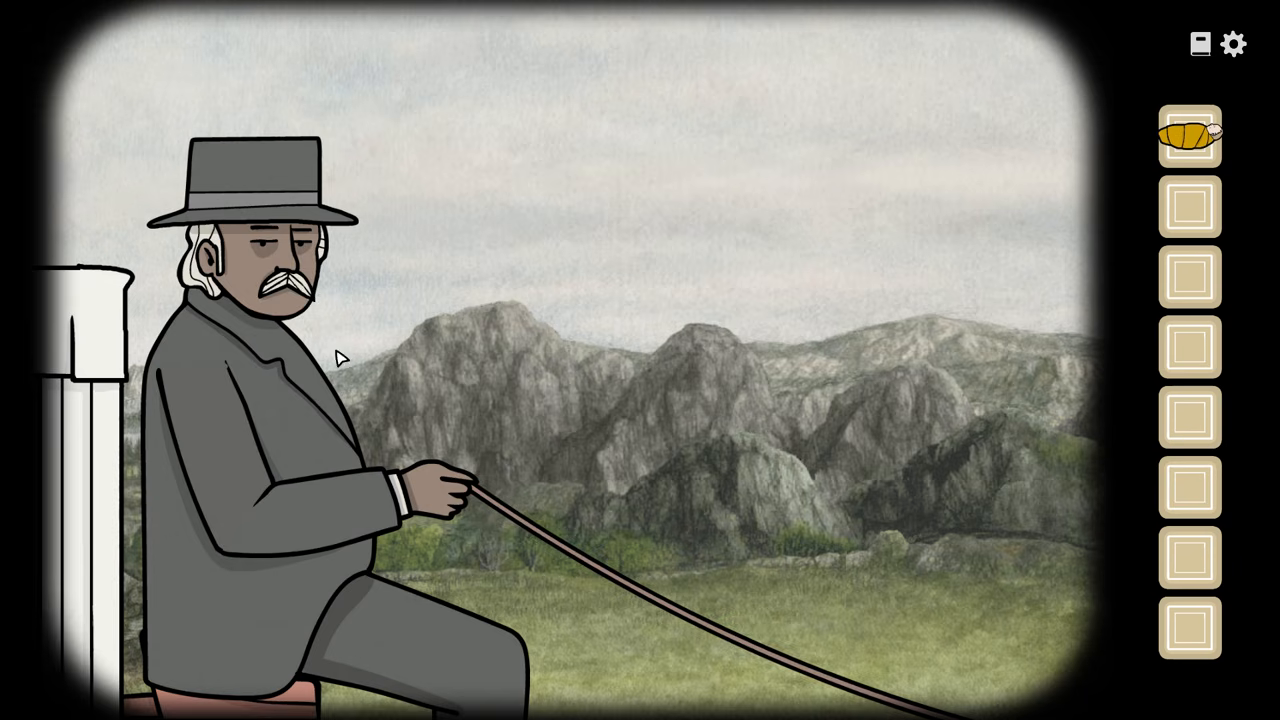
Collect the water, fork, and cloth. Use them to help Aldous and remove the small piece of meat from William; trade it with Rustie for a hairpin. Hold the pick on each lock bolt until it releases. Find flint for the torch, bridge the floor gap with the plank, and record the cave numbers 3, 8, and 5. The final statues take 3:00, 8:00, and 5:00 from left to right. Pick up James and leave the cave in the carriage. The ending shows a departure, but the inspected scene does not name James’s destination.
 🔍 Enlarge Clue